Anamorphic lenses are behind some of the most iconic shots in cinema. Their unique characteristics deliver footage with a specific look that movie-lovers and filmmakers fall for over and again.
In this episode of our How To Video: Camera series, we’re taking a deep dive into anamorphic lenses, starting with their origins, and how the footage they produce differs from standard lenses. Keep reading to learn how to produce anamorphic footage without breaking the bank, and uncover inspiring ideas for using it in your business videos.
All About Anamorphic
In this video, Nick LaClair, creative director for SproutVideo, breaks down the history of anamorphic lenses, and explains how they’re differentiated. He’ll also show you exactly how you can film anamorphic footage on a budget.
What is an Anamorphic Lens?
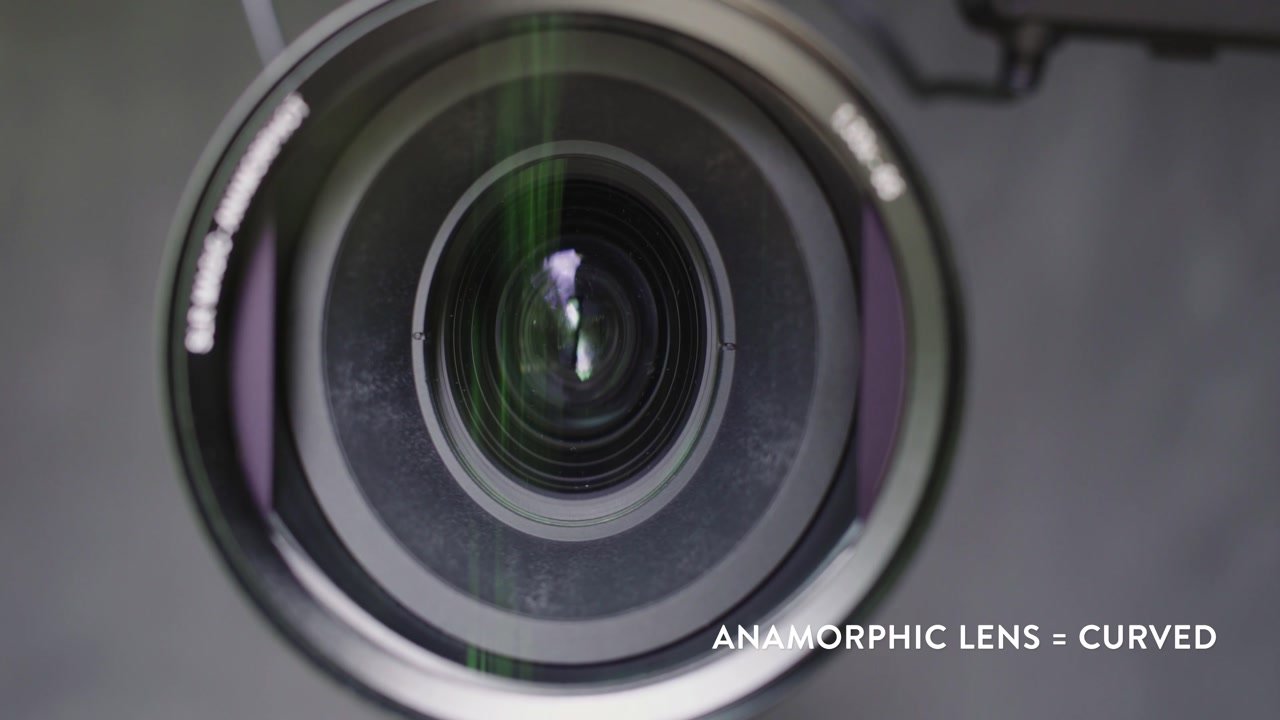
Anamorphic lenses are distinguished from other types of lenses primarily by their unique shape. While normal lenses are called spherical lenses because they’re round, anamorphic lenses are curved, which gives the optics an oval shape.
This key difference results in beautiful, unique footage. Once you learn how to spot it, you’ll notice it in lots of your favorite films and TV shows. Before we get to that, let’s start with how anamorphic lenses came about.
Anamorphic Lenses and Aspect Ratios
Early films used what is known as the academy aspect ratio, which is roughly 4:3. When TV arrived on the scene in the 1950’s, it also used a 4:3 aspect ratio for programming.
Film producers needed a way to motivate audiences to come into the cinema instead of staying at home to watch TV. As a result, widescreen formats were introduced to draw viewers back into theaters.
However, film strips were not adapted to widescreen formats. The academy aspect ratio fit perfectly on 35mm film, taking up 4 perforations:
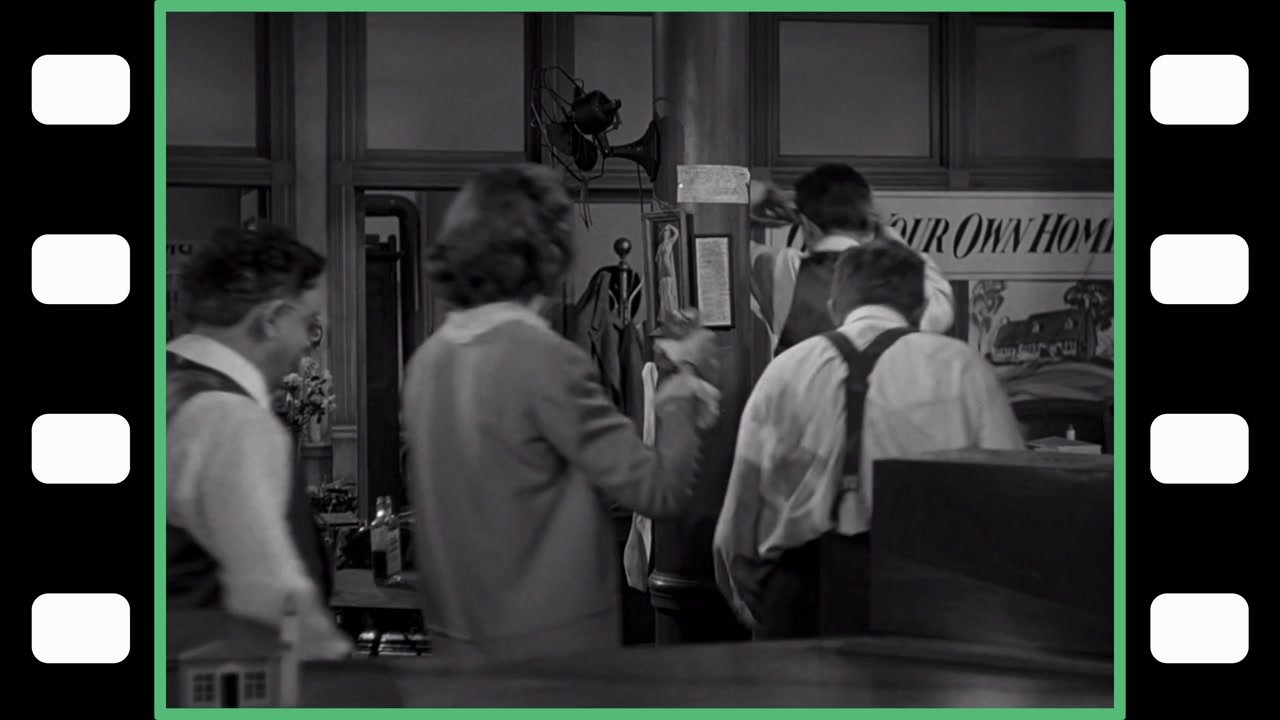
In contrast, a widescreen format on 35mm film takes up only 3 perforations. This would’ve resulted in a lower quality, blurry, and unappealing image.
Certain middle ground aspect ratios, like 1.85:1, popularized by Hitchcock, looked just fine with some cropping, but for widescreen formats, it simply didn’t work.
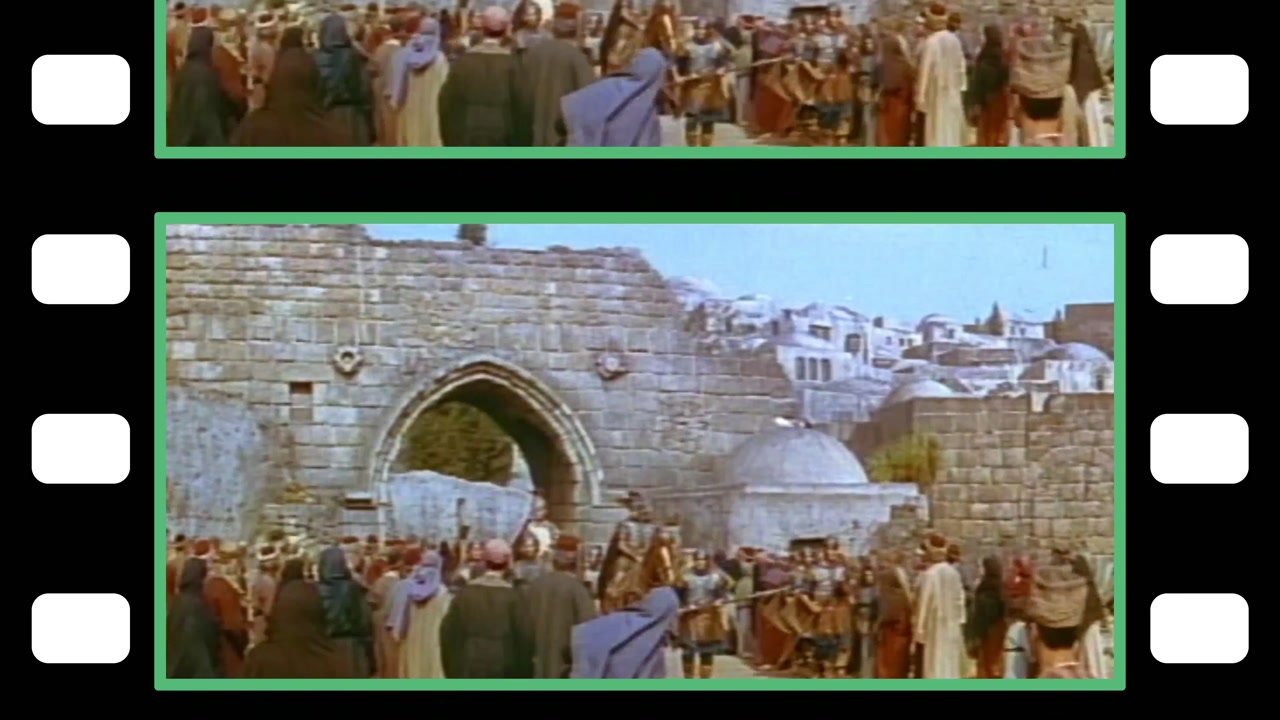
The solution was to use anamorphic lenses to squish a 2.39:1 widescreen format onto the 35mm film strips. Then, the squished image would be stretched back out for viewing on a widescreen.
In fact, the most popular screen format today, 16:9, came about because it’s the perfect compromise between 2:39:1 and 4:3. Whether the footage is letterboxed or pillarboxed, the amount of screen covered by black bars is approximately the same when viewed on a 16:9 screen.
Why It’s So Special
Anamorphic lenses deliver footage that really stands out. Without even knowing it, you’ve surely encountered it many times. Here are the defining elements of anamorphic footage.
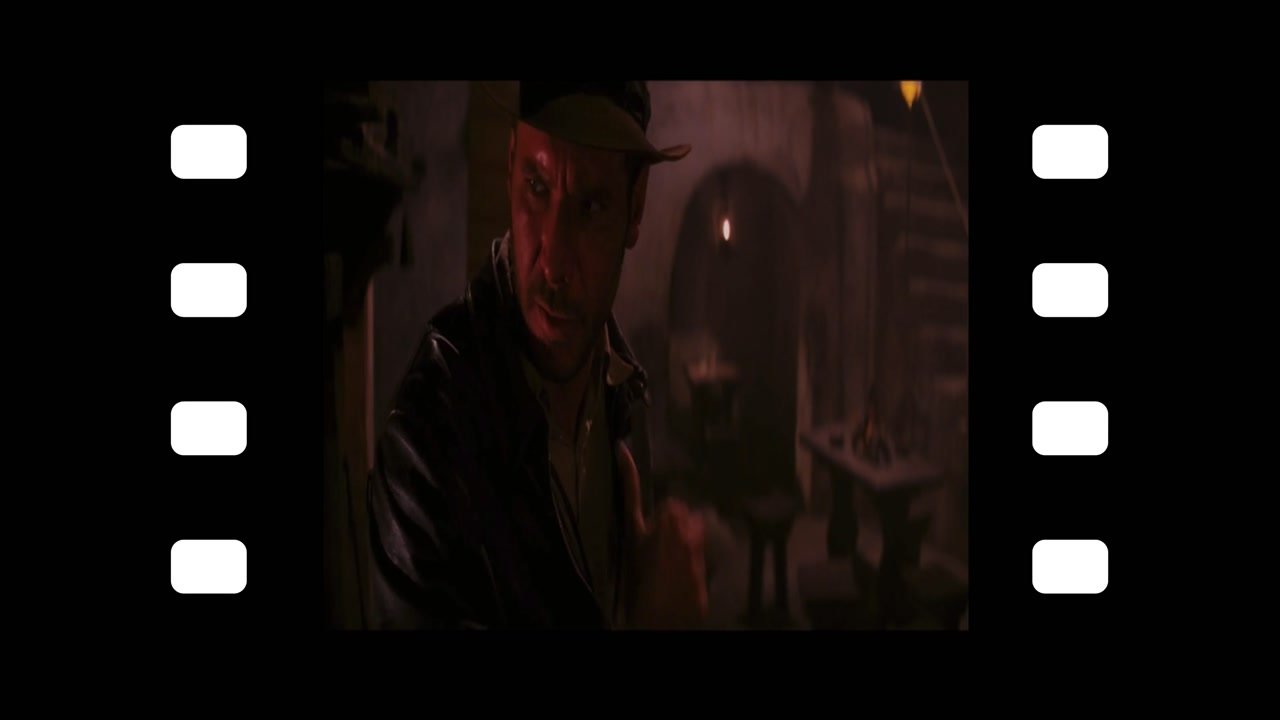
Horizontal Lens Flares
When you’re filming with an anamorphic lens, your footage is squeezed, then stretched back out again. This results in some really dramatic and easily identifiable horizontal lens flares.

You can see this effect in the footage above, where the light streaks across the top of the frame. It’s very atmospheric, and heightens the emotional charge of the scene. The dramatic visual of the horizontal lens flare really delivers that cinematic impact for viewers.
Bokeh in the Background
Despite it’s funny-sounding name, bokeh is actually an extremely important part of shot composition. It refers to the out-of-focus background areas in view. When captured with a standard lens, background lights and other out-of-focus elements will appear rounded. In contrast, with an anamorphic lens, they’ll appear oval-shaped.
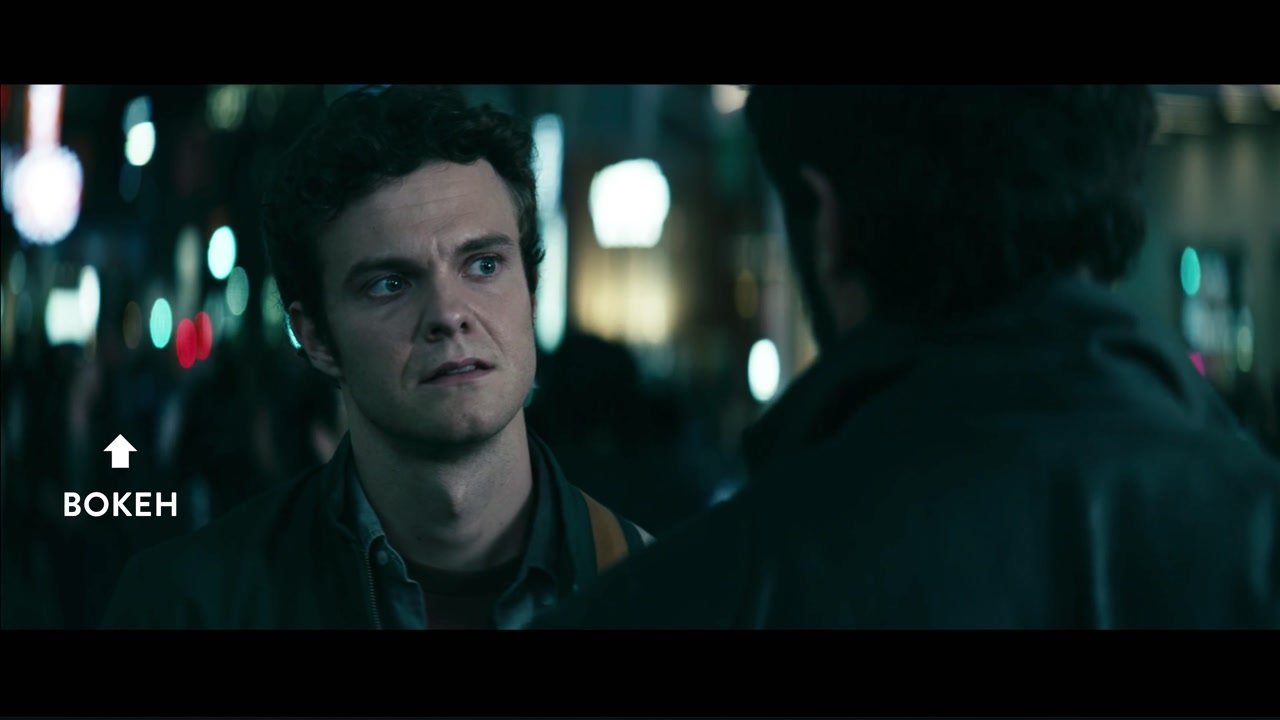
This is probably the easiest way to identify anamorphic footage because it’s so iconic and readily distinguishable. It also adds an artistic, three-dimensional element to your footage that you can’t really achieve any other way.
Intentionally Imperfect
Given that the footage is squeezed, then stretched, it’s no wonder that anamorphic lenses aren’t the sharpest option out there. In fact, they’re known – and loved – for their imperfections.
For instance, while the visuals aren’t as sharp when compared to standard lenses, the distortion is both desirable and subtle. It adds character, and softens the image in a visually appealing way.
The quirks of anamorphic footage impose some constraints on filmmakers to a certain extent. For instance, the distortion essentially forces you to keep your subject near the center of the shot. In some cases, that can be a challenge, but it’s easily overcome with some creativity.
Shoot Wide Angle Without a Wide Lens
With an anamorphic lens, you can shoot wide angle without using a wide lens (head to our previous episode for a primer on lens types if you’re unsure what that means). Here’s why: if you’re shooting with a 60mm anamorphic lens, it’s stretched out to a 30mm field of view.
Since longer lenses compress the background and tend to have more bokeh, anamorphic lets you shoot wide, but with all the characteristics of that longer lens.
How To Use It For Business Video
Got a new feature release or product announcement? What better way to go about it than with tons of cinematic flair and anamorphic footage.
For instance, Taco Bell knocked it out of the park with this ad campaign for their new seasoned fries in 2018.
You can easily identify the footage as anamorphic because of the oval-shaped bokeh (at 0:06), widescreen letterboxing, and even a horizontal lens flare (at 1:14). It reads as epically cinematic, and an overall genius idea for generating excitement for their new fries.
How to Shoot Anamorphic
First up, you’ll need the right gear for your shoot. You can acquire a true anamorphic lens kit, or, an adapter suited to the type of camera you already have. For a detailed comparison of these options, we love this thorough video on anamorphic lenses and adapters from ShareGrid.
True Anamorphic Lenses
A true anamorphic lens can be extremely pricey – they can cost you as much as a new car. The most economical options we’ve seen are from Atlas and SLR Magic, which run around $8,000 – $9,000 for a three-lens kit.
A big benefit to using an anamorphic lens is that you won’t need as many extras in your setup. For instance, pulling focus is a lot simpler with a purpose-built anamorphic lens. Still, the higher price tag motivates many to go with more budget-friendly adapters instead.
Adapters
Adapters have proliferated for all different types of video cameras, including drones and phones. They range dramatically in cost and quality.
If you’re filming with a camera that supports interchangeable lenses, one big advantage worth noting is that one adapter will likely work across most of your lenses. This gives you a lot of flexibility and helps maximize your investment.
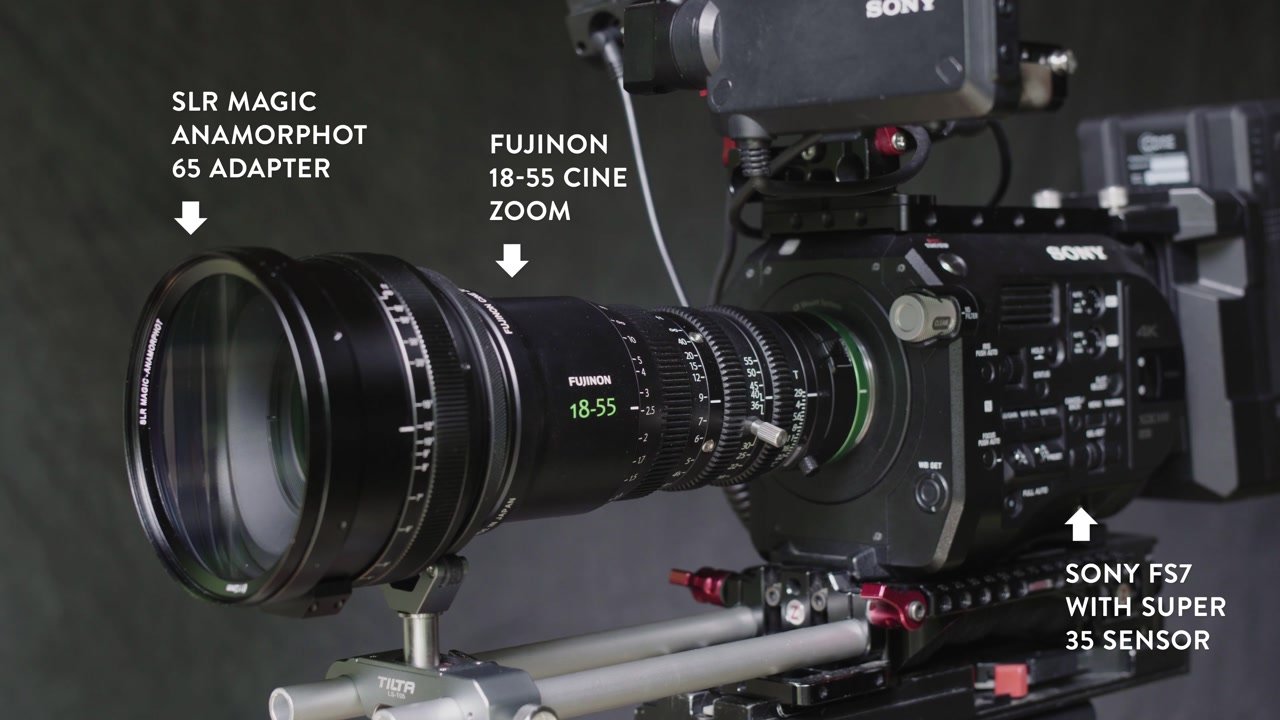
For professional camcorders, like Nick’s Sony FS7, adapters come in two different types: rear-mounted and front-mounted. In our experience, the rear-mounted adapters don’t quite deliver the anamorphic look, making front-mounted adapters the way to go. Here’s our anamorphic adapter setup:
Camera Choice
Whether you go with an adapter or a real anamorphic lens, ideally, you want to select a camera that can film in a 4:3 aspect ratio. Otherwise, the image won’t be squeezed enough to get the full anamorphic effects you’re aiming for.
For instance, the Panasonic GH5 or Blackmagic Pocket Cinema cameras can shoot in 4:3, which allows you to use a 2x anamorphic adaptor to squeeze the image in half. This essentially replicates the original process from the film days. Of course, big cinema rigs like Red or Arri are excellent options as well if your budget allows for it.
If – like the rest of us – you’re shooting on a super 35 sensor, there are 1.33x anamorphic adaptors that will squeeze your image about 30%. That’s just the right amount to stretch it back from 16:9 to 2.39:1. It’s still a great look, and all those classic anamorphic qualities will be there in your footage. They’ll just be a little more subtle.
Extras
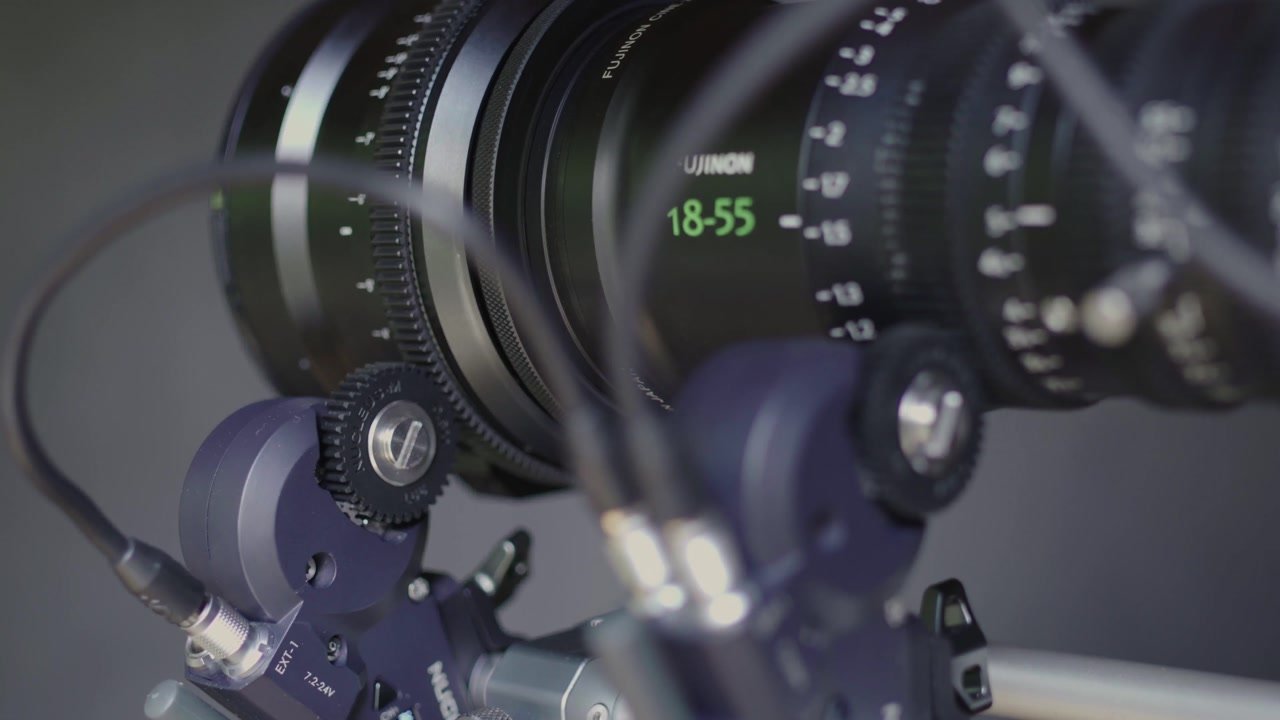
One significant consideration for anamorphic adaptors is that they have a totally separate focus ring. To pull focus, you need to turn focus on the lens and the adaptor simultaneously. They need to be perfectly in sync for it to work properly.
In our setup, Nick uses a remote follow focus with two motors synced together. This adds a little extra complexity to your setup.
Additionally, you’ll need a separate monitor that can stretch the image for preview. Most consumer cameras don’t have the ability to do that. Evaluating your footage based on the squeezed image would be too difficult and prone to error, so we found this to be a necessary add-on.
Drawbacks of Anamorphic Lenses
No lens is perfect for all situations, and there are some considerations worth taking into account before you go all-in on anamorphic lenses.
For starters, there are the general drawbacks of the widescreen format. You’re giving up valuable real estate on 16:9 screens. On mobile and small screens, that could make a big difference.
Of course, you can crop anamorphic footage to a 16:9 format. You just have to plan for that when filming, or you risk cropping important elements out of the frame.
Additionally, you might find the quirks of working with anamorphic lenses are not right for your project. Not everything has to be cinematic, after all. You might find a sharper lens with less distortion is a better fit depending on what you’re filming.
Finally, an anamorphic setup is not going to be in everyone’s budget, even if you go with adapters. We wound up with roughly $3,500 in extras to achieve the look we wanted using our Sony FS7 with a front-mounted adapter. All those extras also made filming much more complex, and increased our setup time dramatically.
Amazing Anamorphic
Despite those potential downsides, anamorphic footage is worth the effort for many shoots. It’s all about finding ways to make the most of its specific look.
After all, anamorphic footage is captivating, and can really help you stand out from the crowd. It’s the perfect choice for when you want to make an impact on your audience.
Have you worked with anamorphic footage before? Curious to give it a try? We’d love to hear about your experience. Share your comments and questions below for expert advice.
Be sure to subscribe to our newsletter to get the next episode our How To Video series in your inbox.