
Photography Technique: Zoom Burst Photography

Learn all about ZOOM BURST Photography
This blog will be divided into three areas:
The meaning of Zoom Burst
Photographic process of taking a zoom burst picture
Edit zoom burst blur motion into a picture with Photoshop
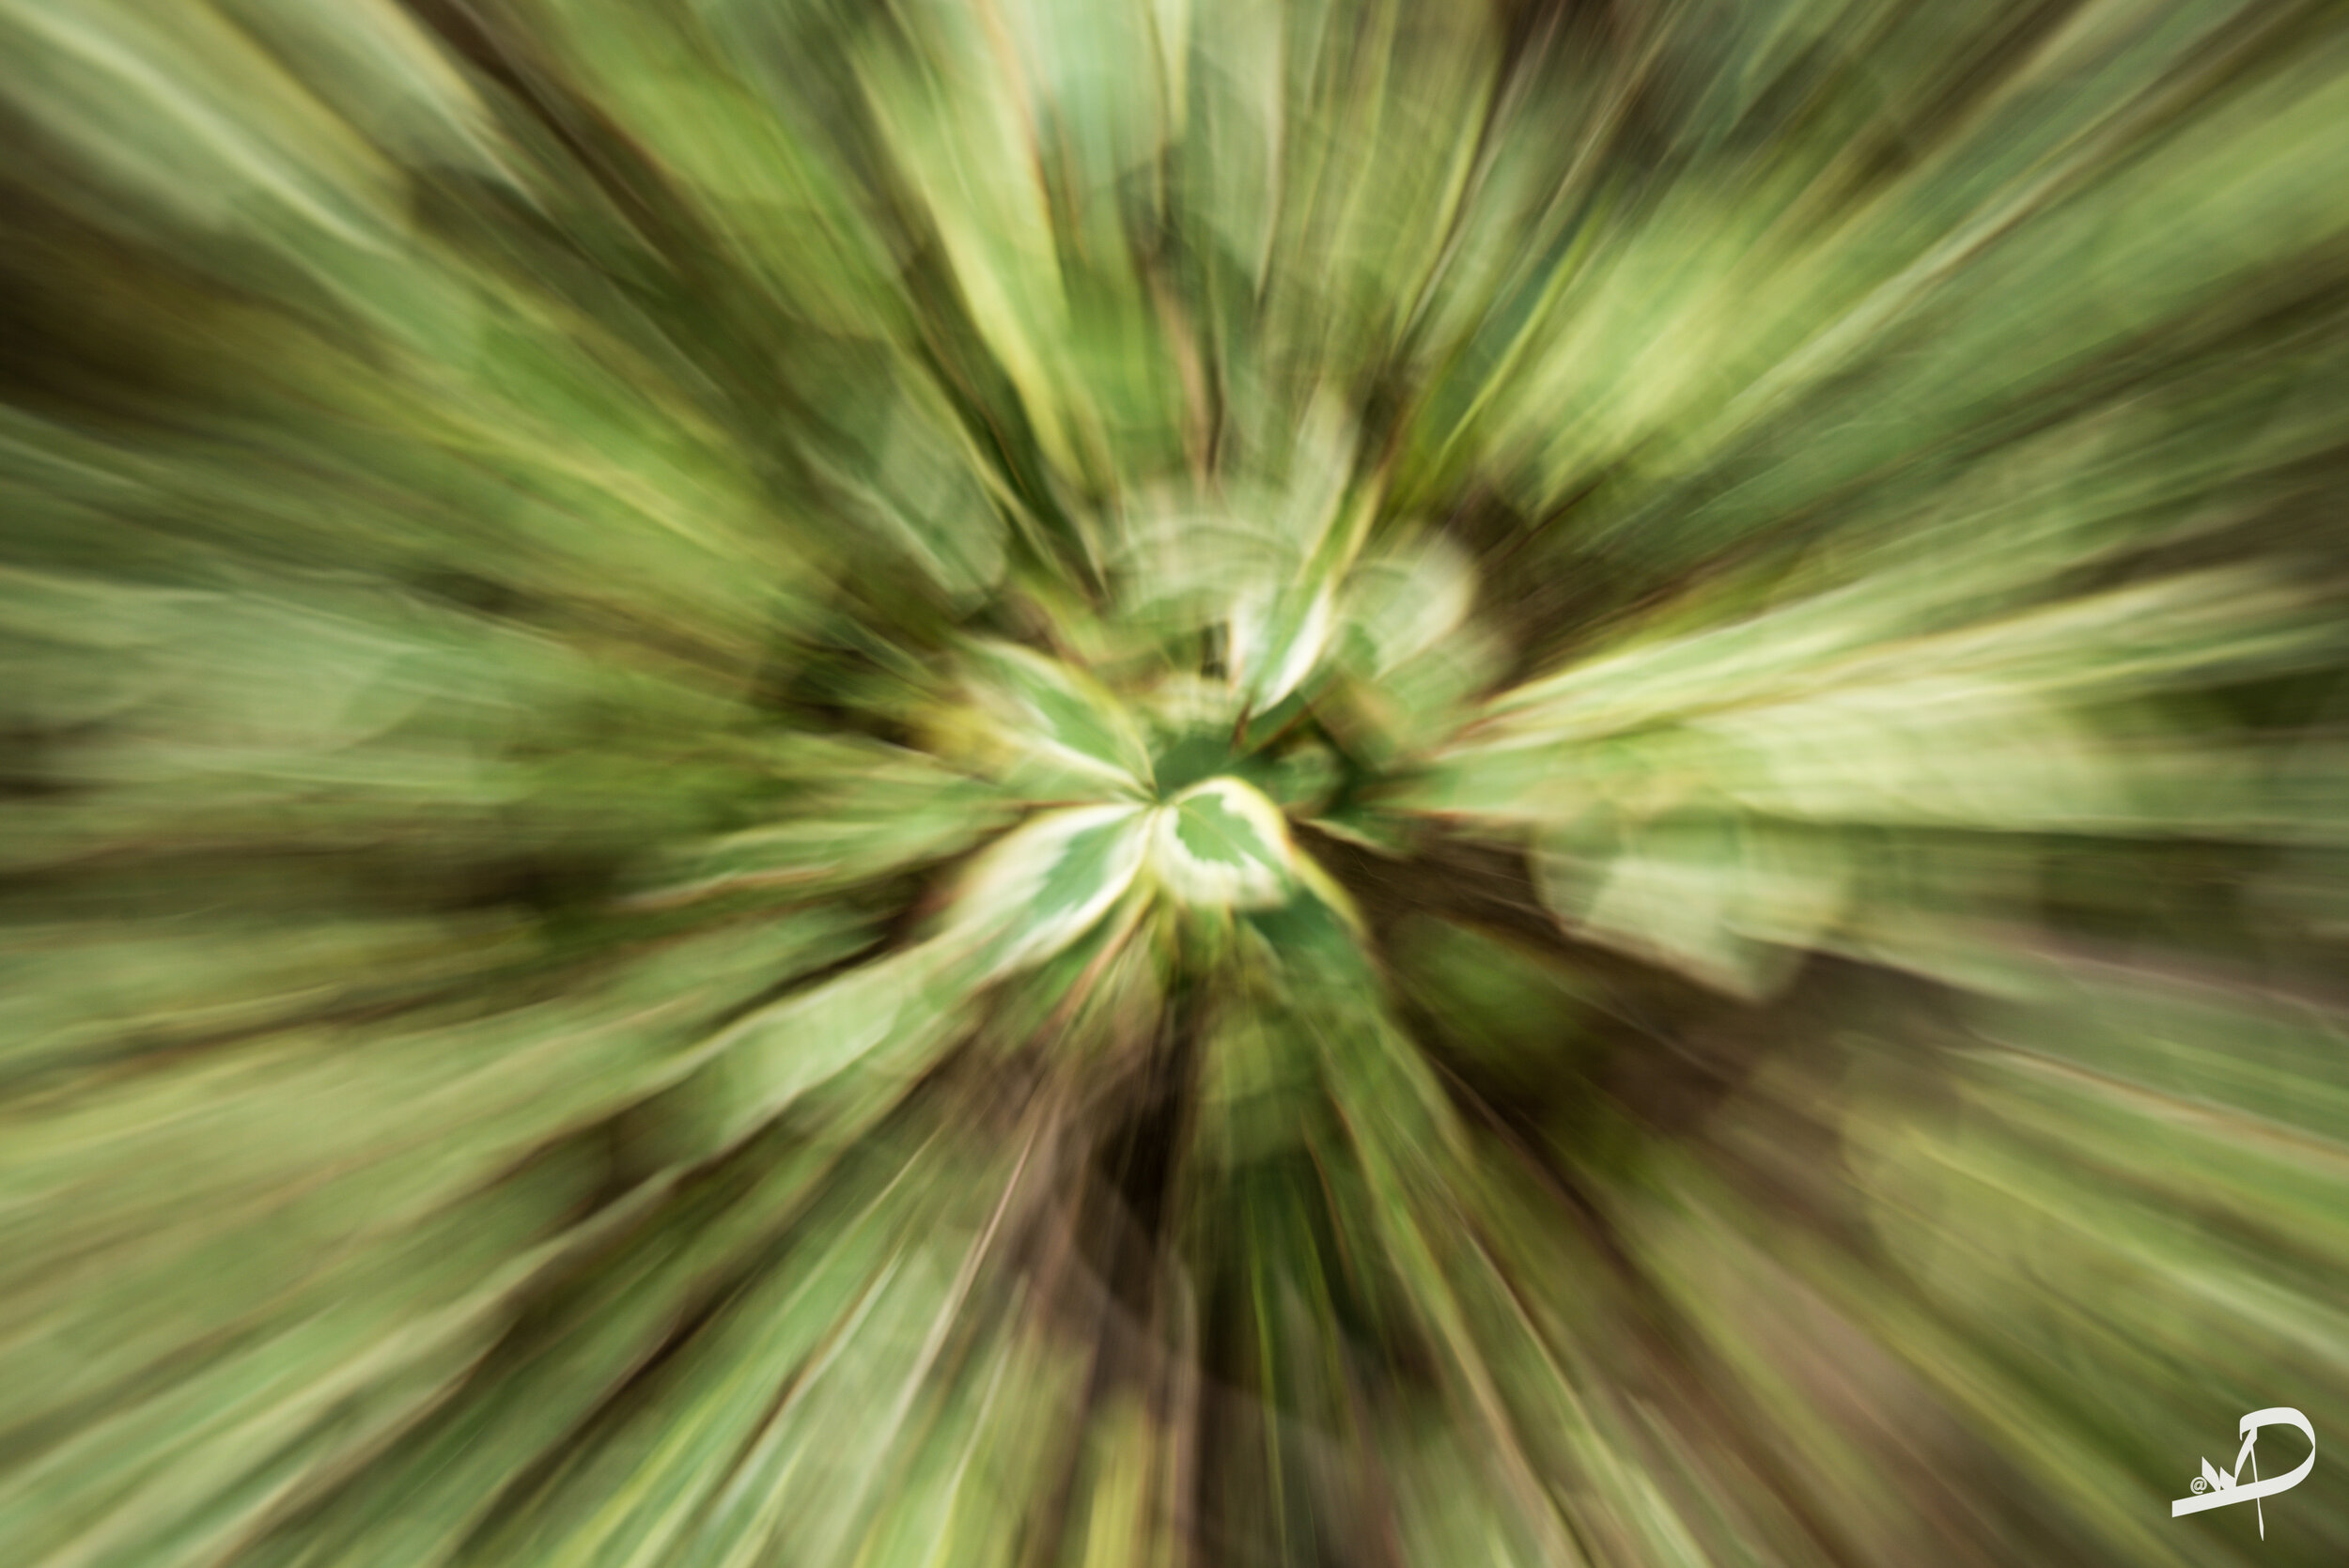
ZOOM BURST
This process is an easy playful creative option to use when you take a photograph. A zoom burst, or zoom blur, is a fantastic photographic effect that involves zooming in or out while you take a photo, causing the shot to blur from the centre outwards as if the scene is “bursting” towards you.
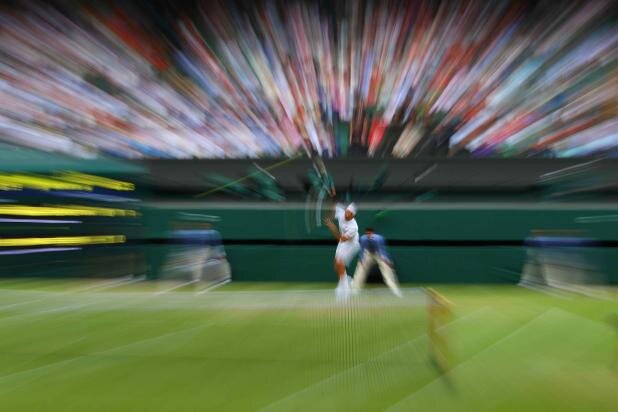
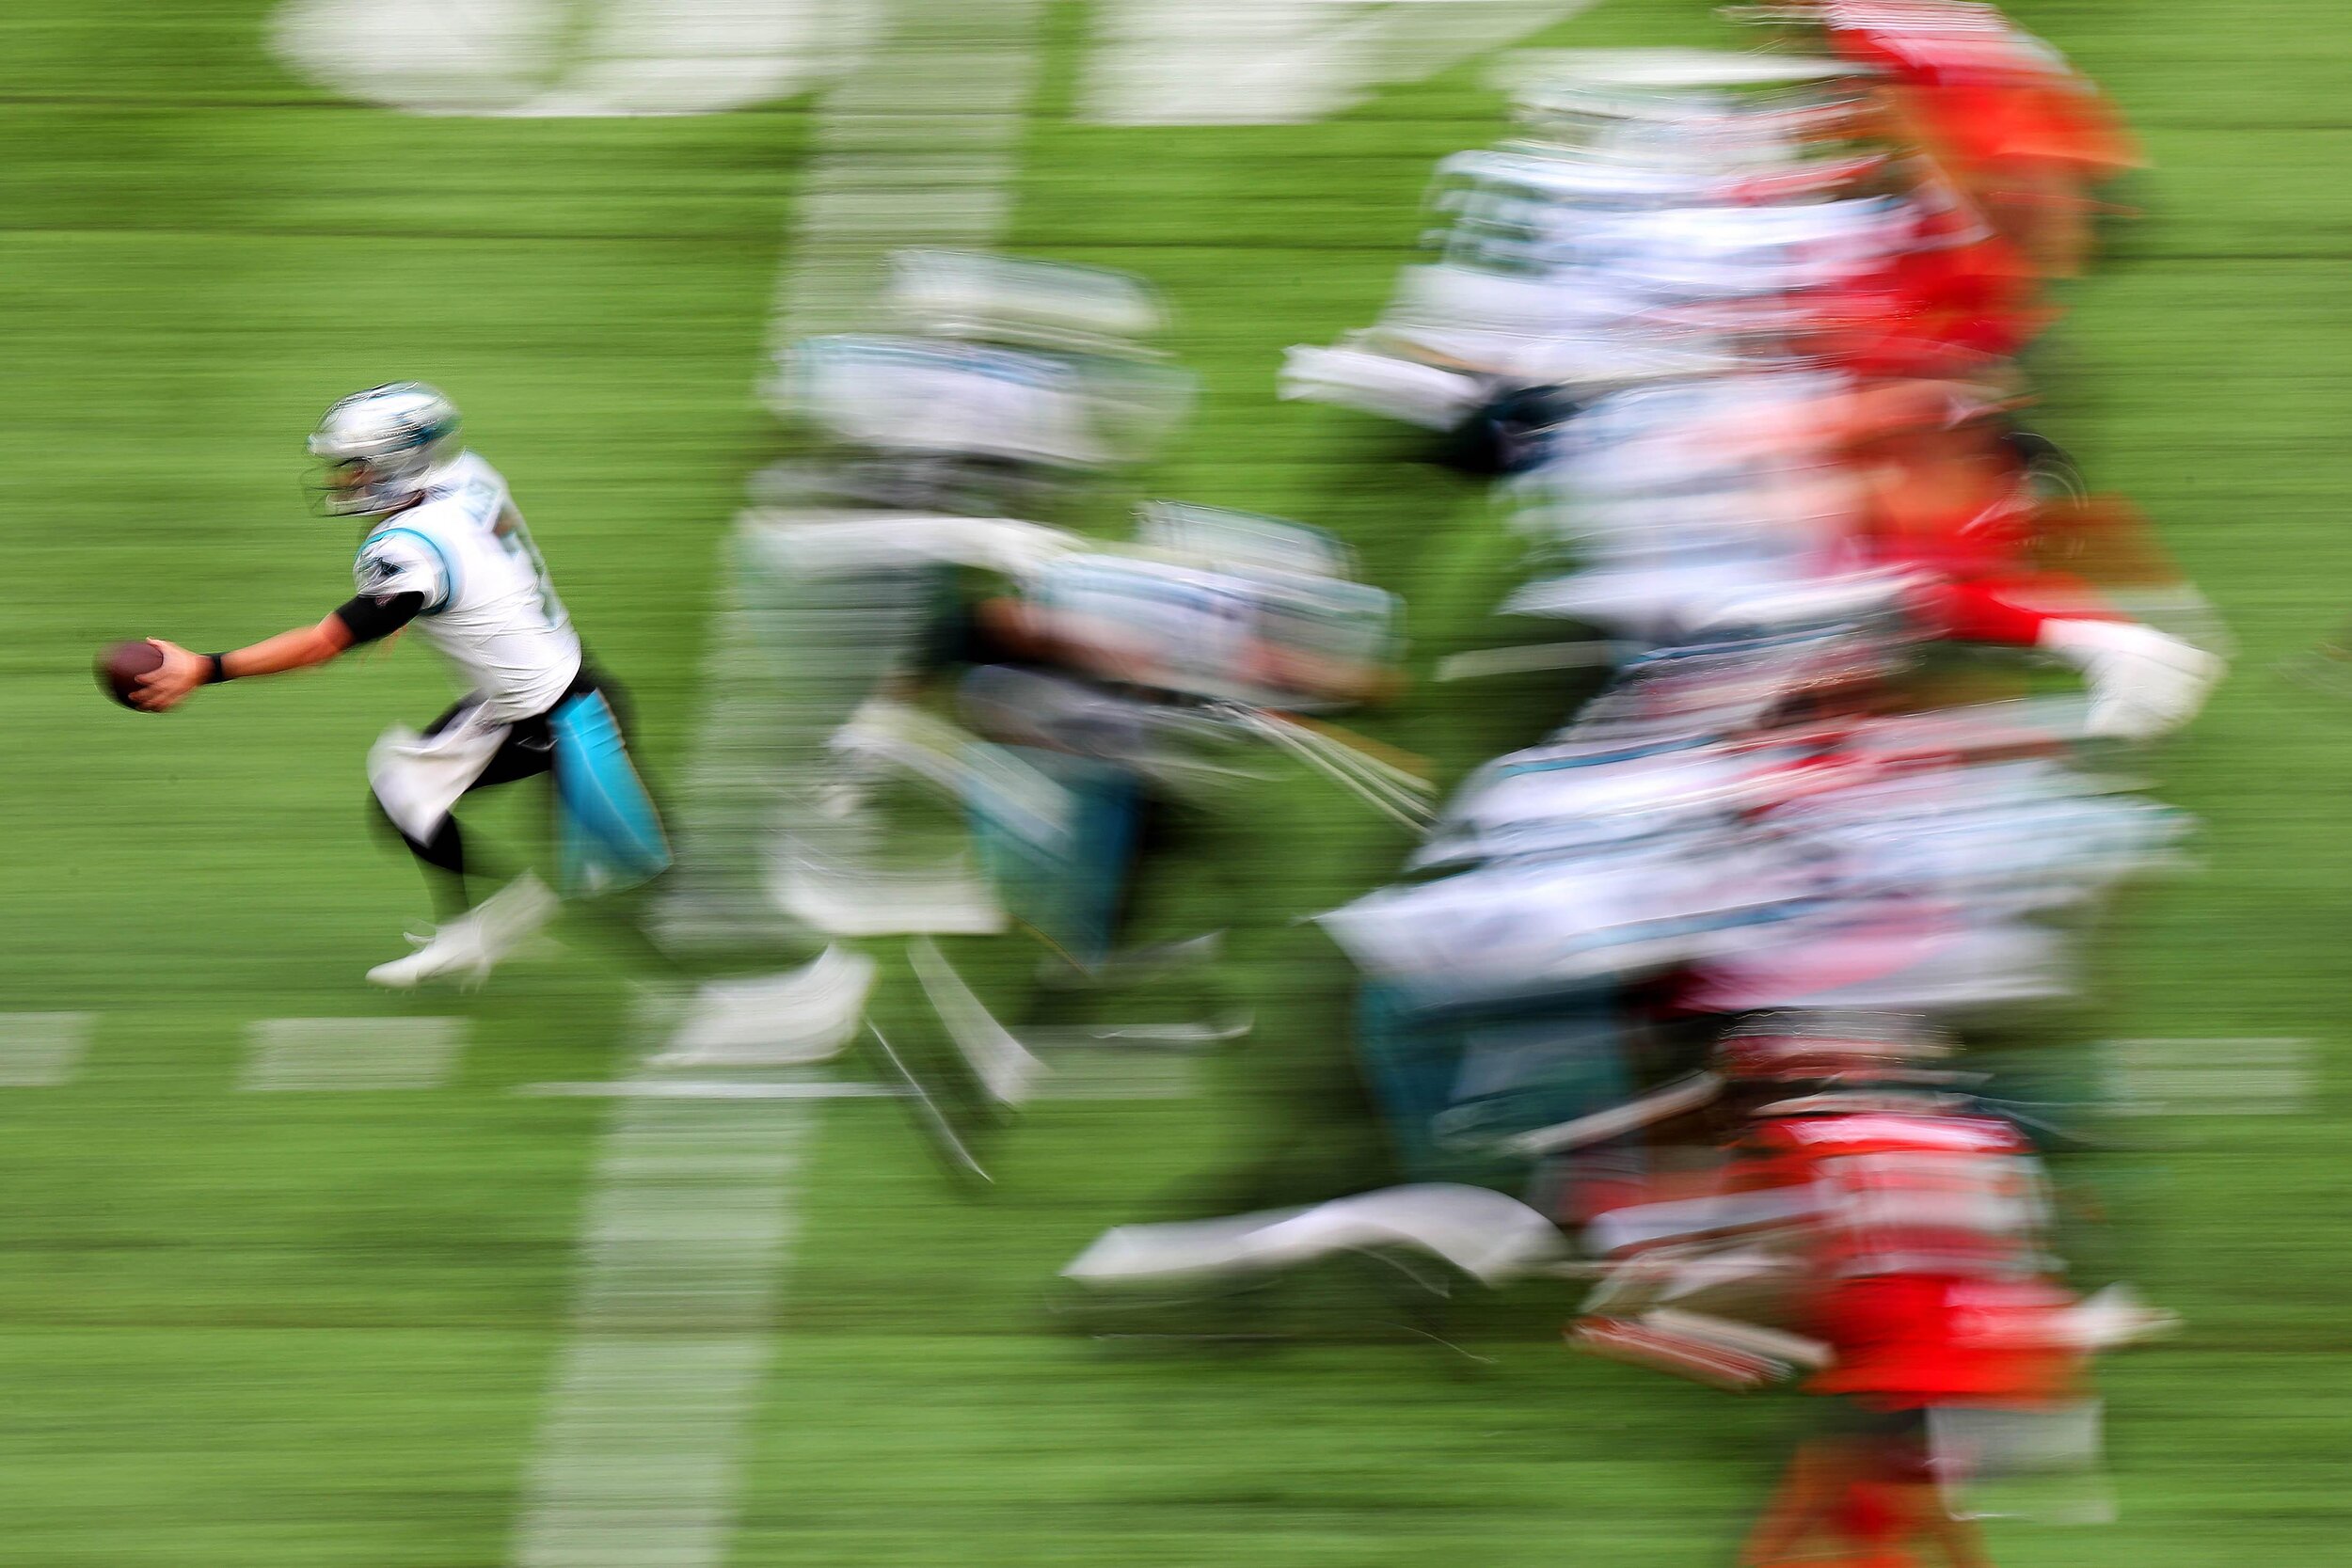
This is a great technique to use when shooting sports and showing a form of motion as the sports person moves within the frame.
Here are some examples of zoom burst effect pictures with the sport.
2. Photographic process of taking a zoom burst picture
Okay, you might be thinking! How can I take this type of photograph?
With this technique, you don’t need to use a tripod and you can play with zooming your lens forward & back and possibly complete a double motion of moving the camera from right to left.
Step by Step Process:
1) Place your camera on a tripod and compose the image. Use your lens’s widest focal length or use its longest focal length. REMEMBER TRIPOD IS OPTIONAL
2) Either focus manually or set the right focus now using autofocus and then turn off autofocus, once ready to take the picture.
3) Set the exposure parameters suitably. I always have my speed at a certain speed so that I am able to turn the lens within the set exposed time I am using.
4) Press the camera’s trigger.
5) Immediately after the exposure starts, begin twisting the lens’s zoom ring smoothly towards your desired composition.
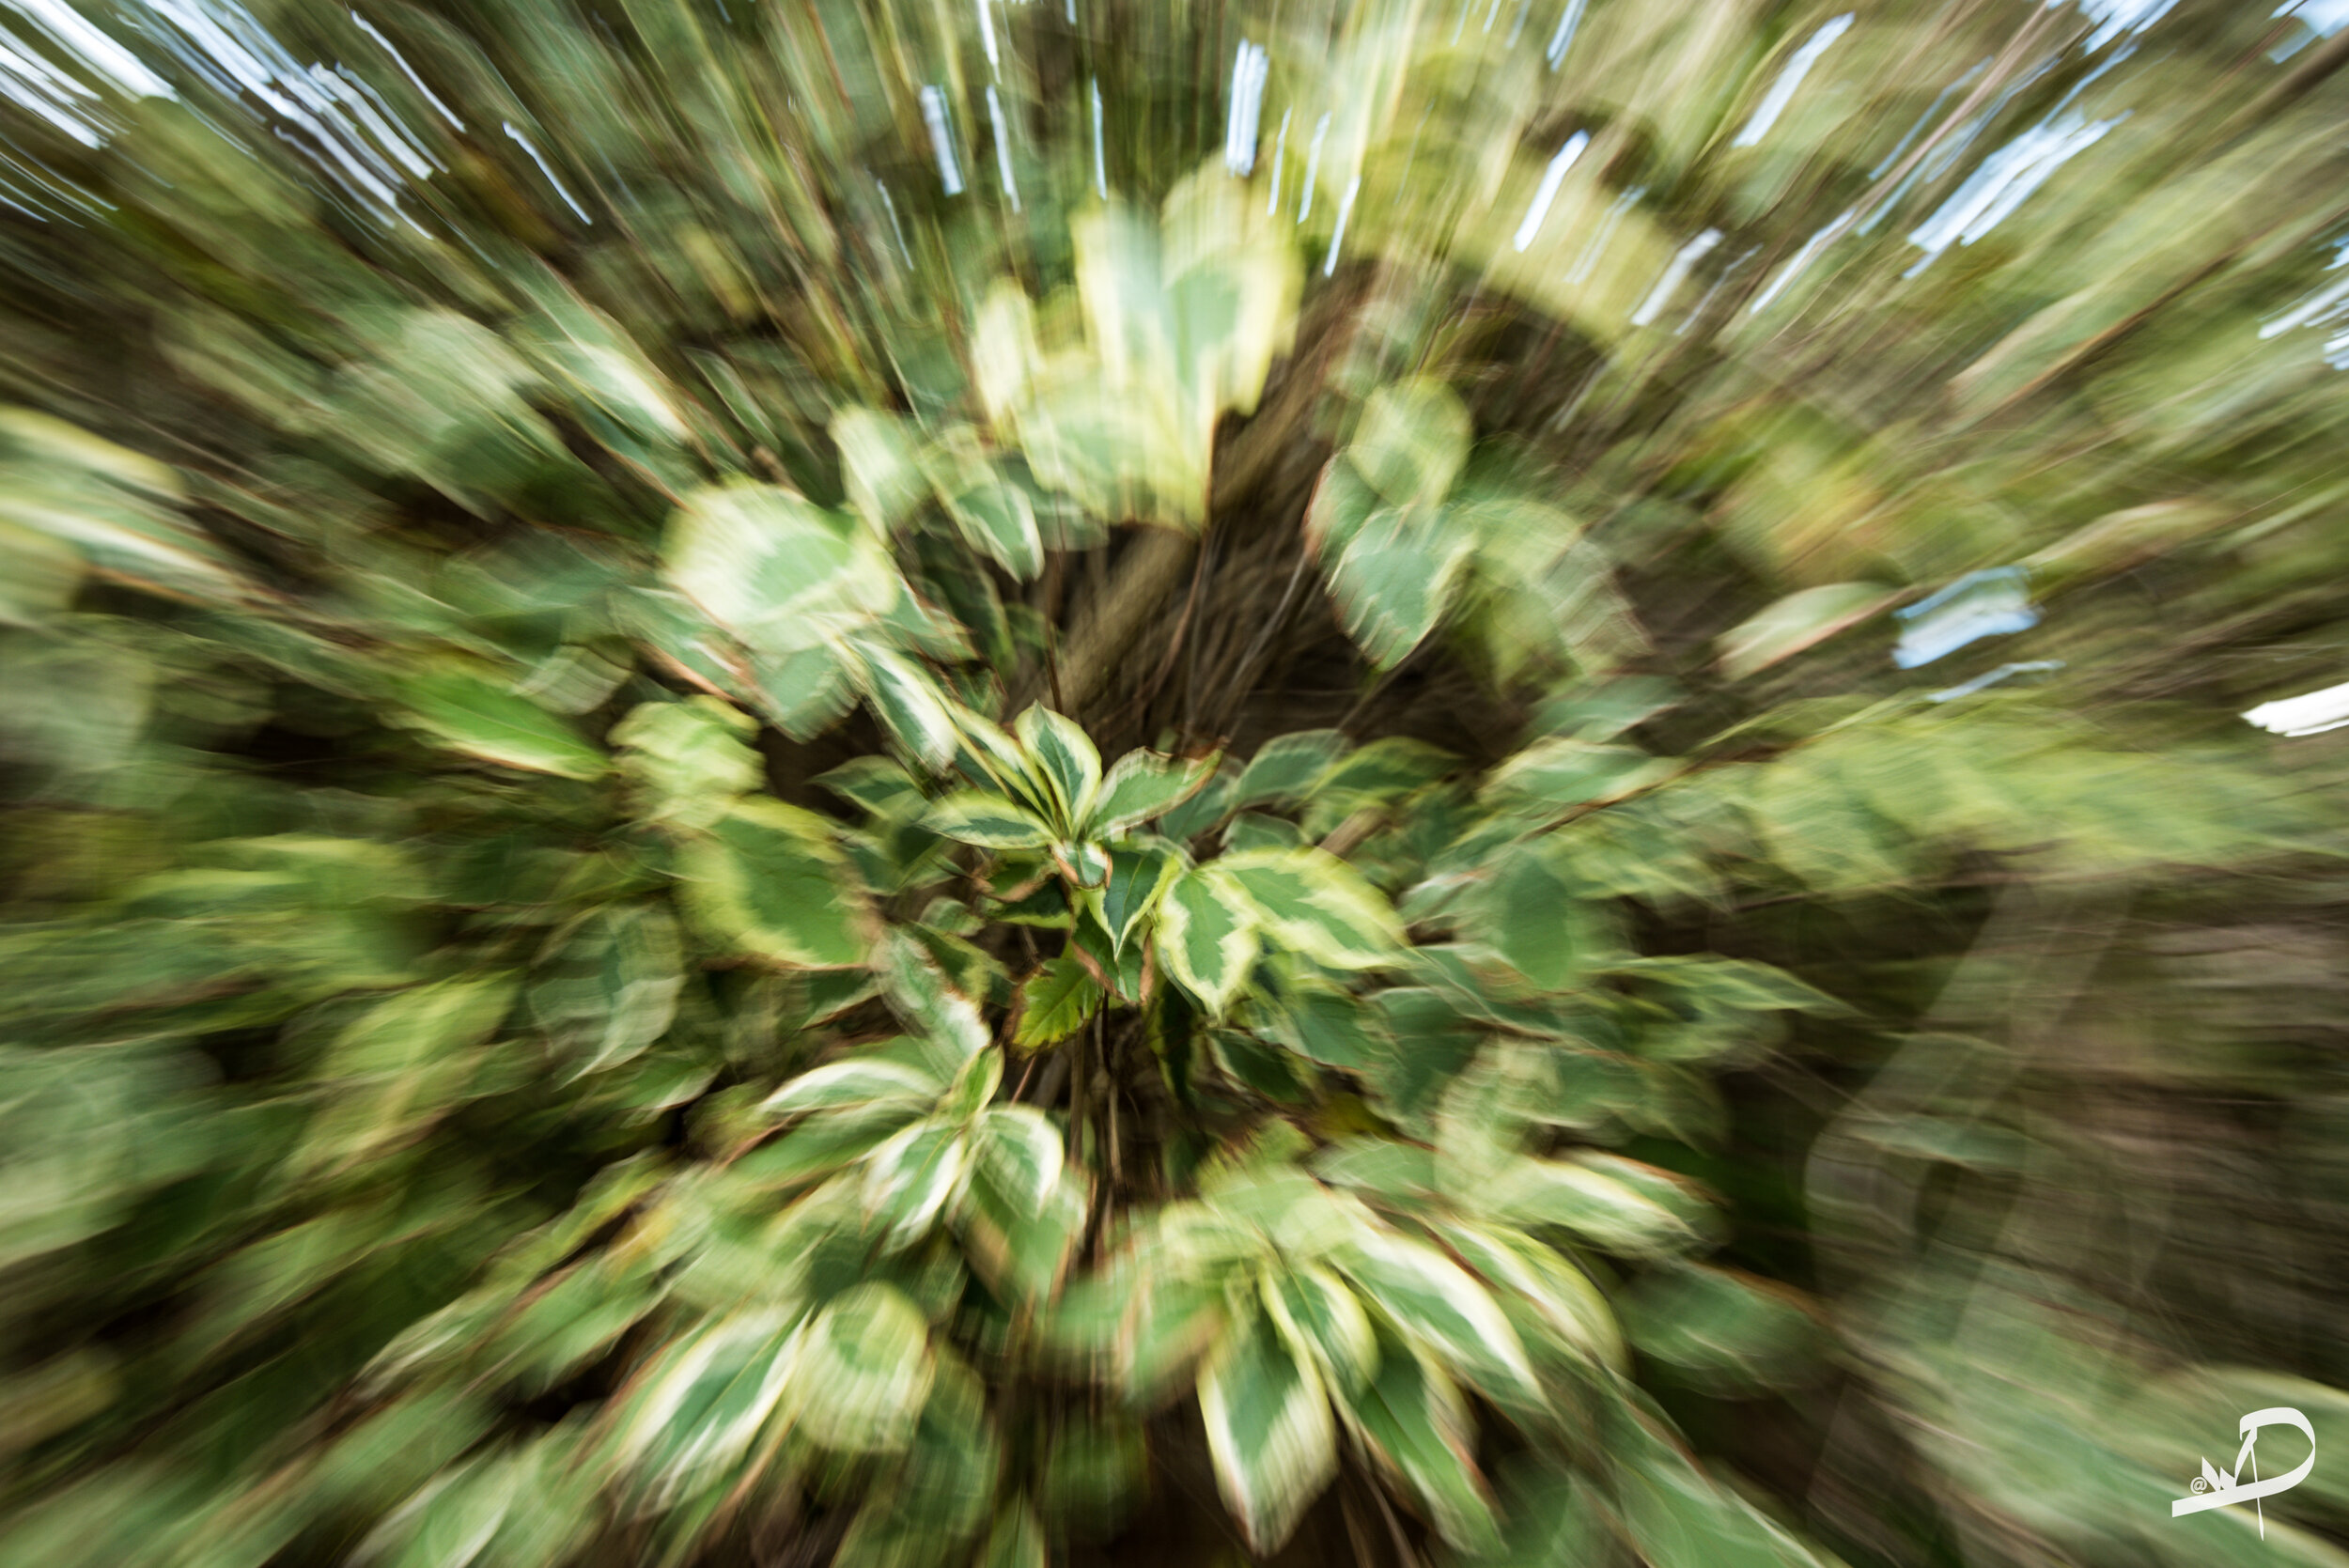
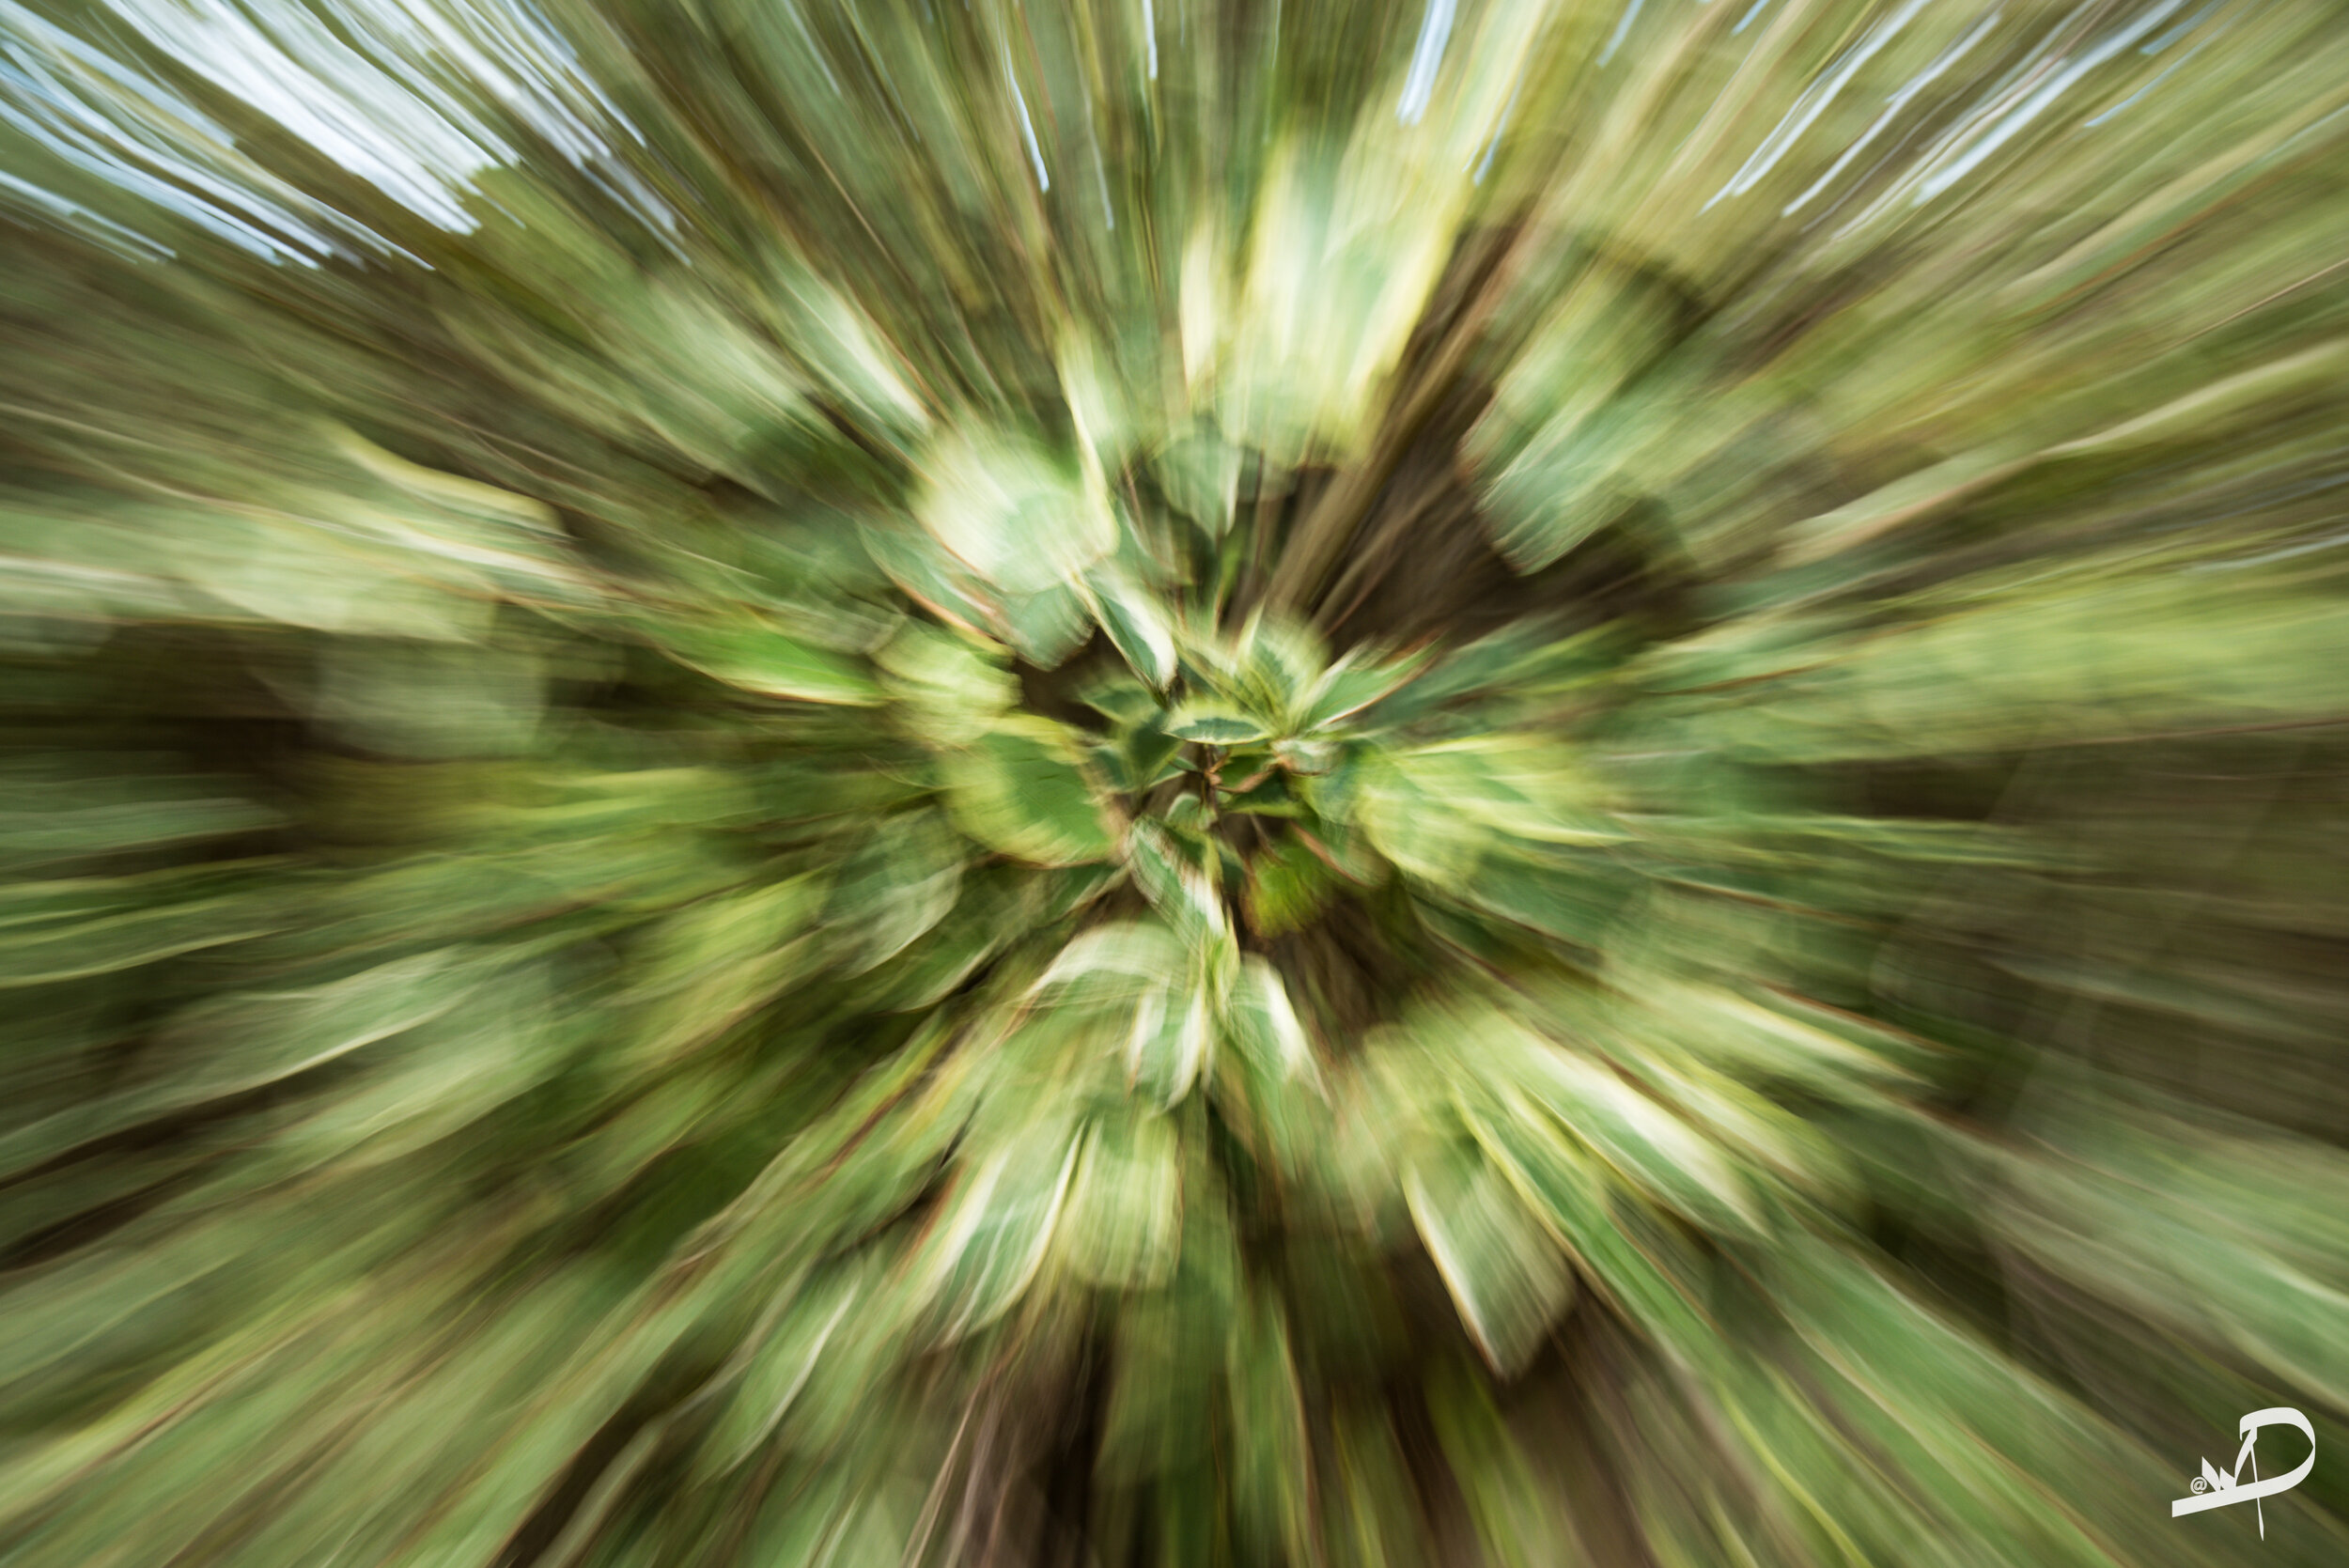
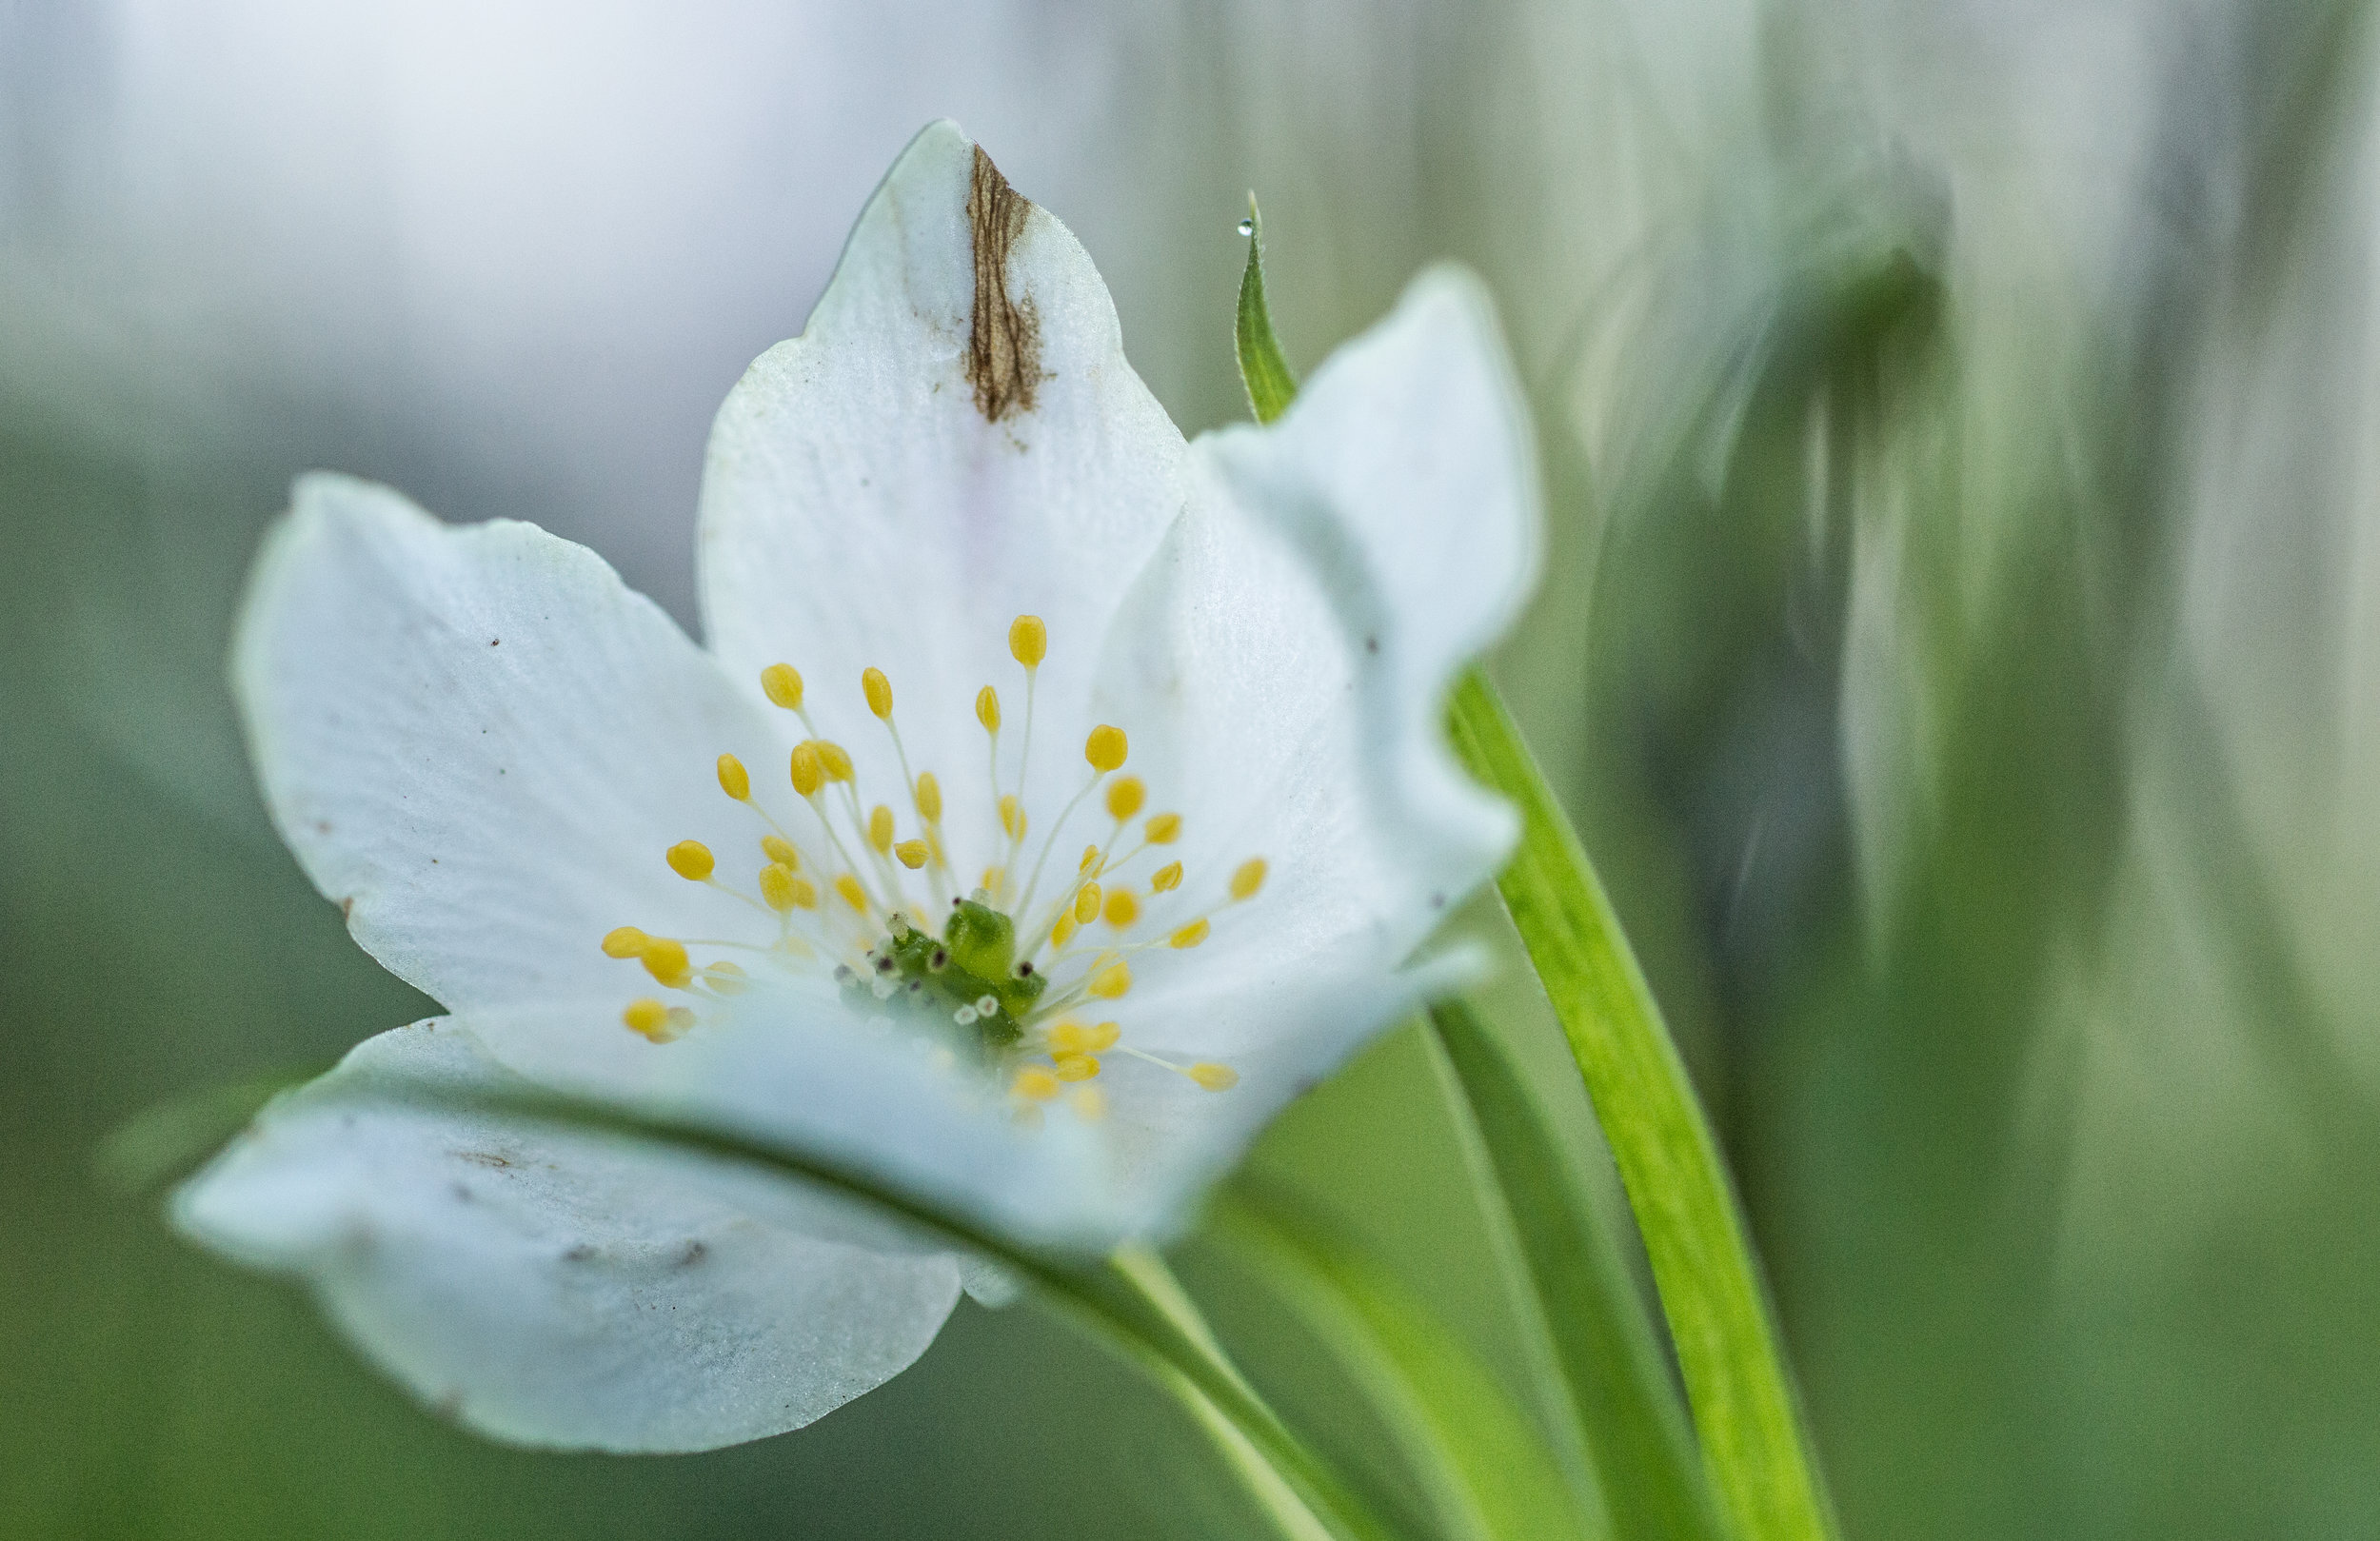
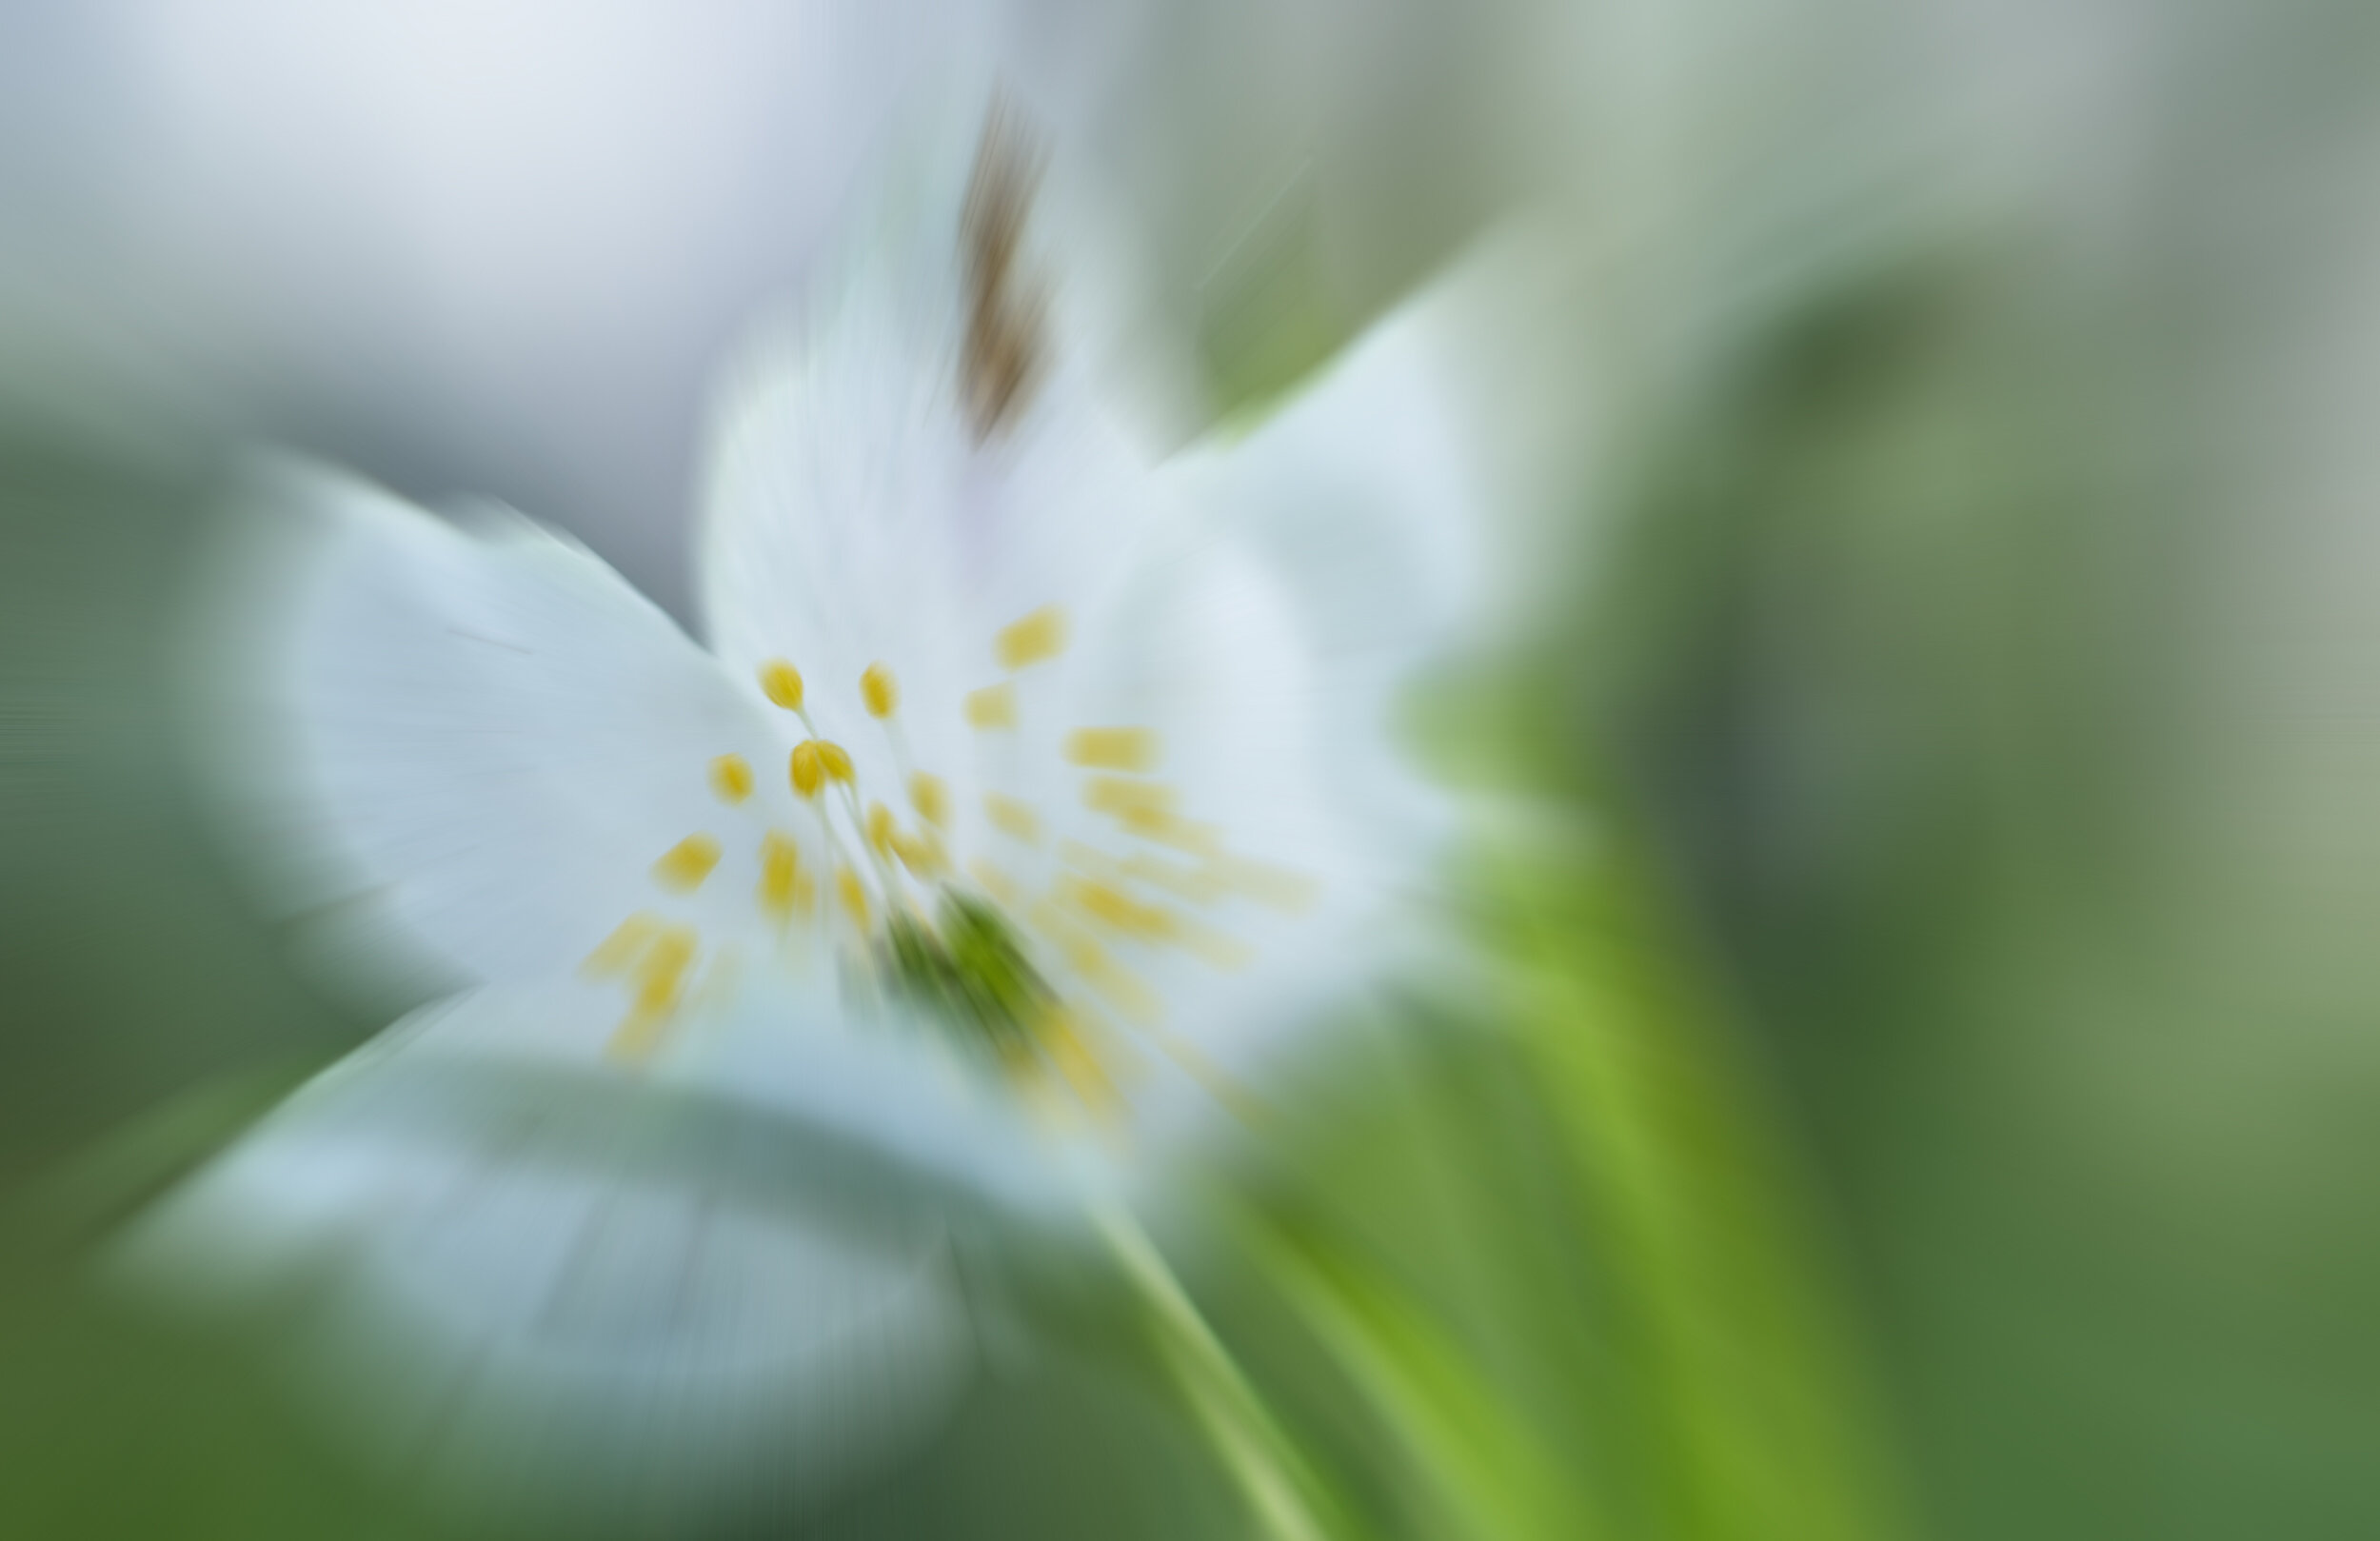
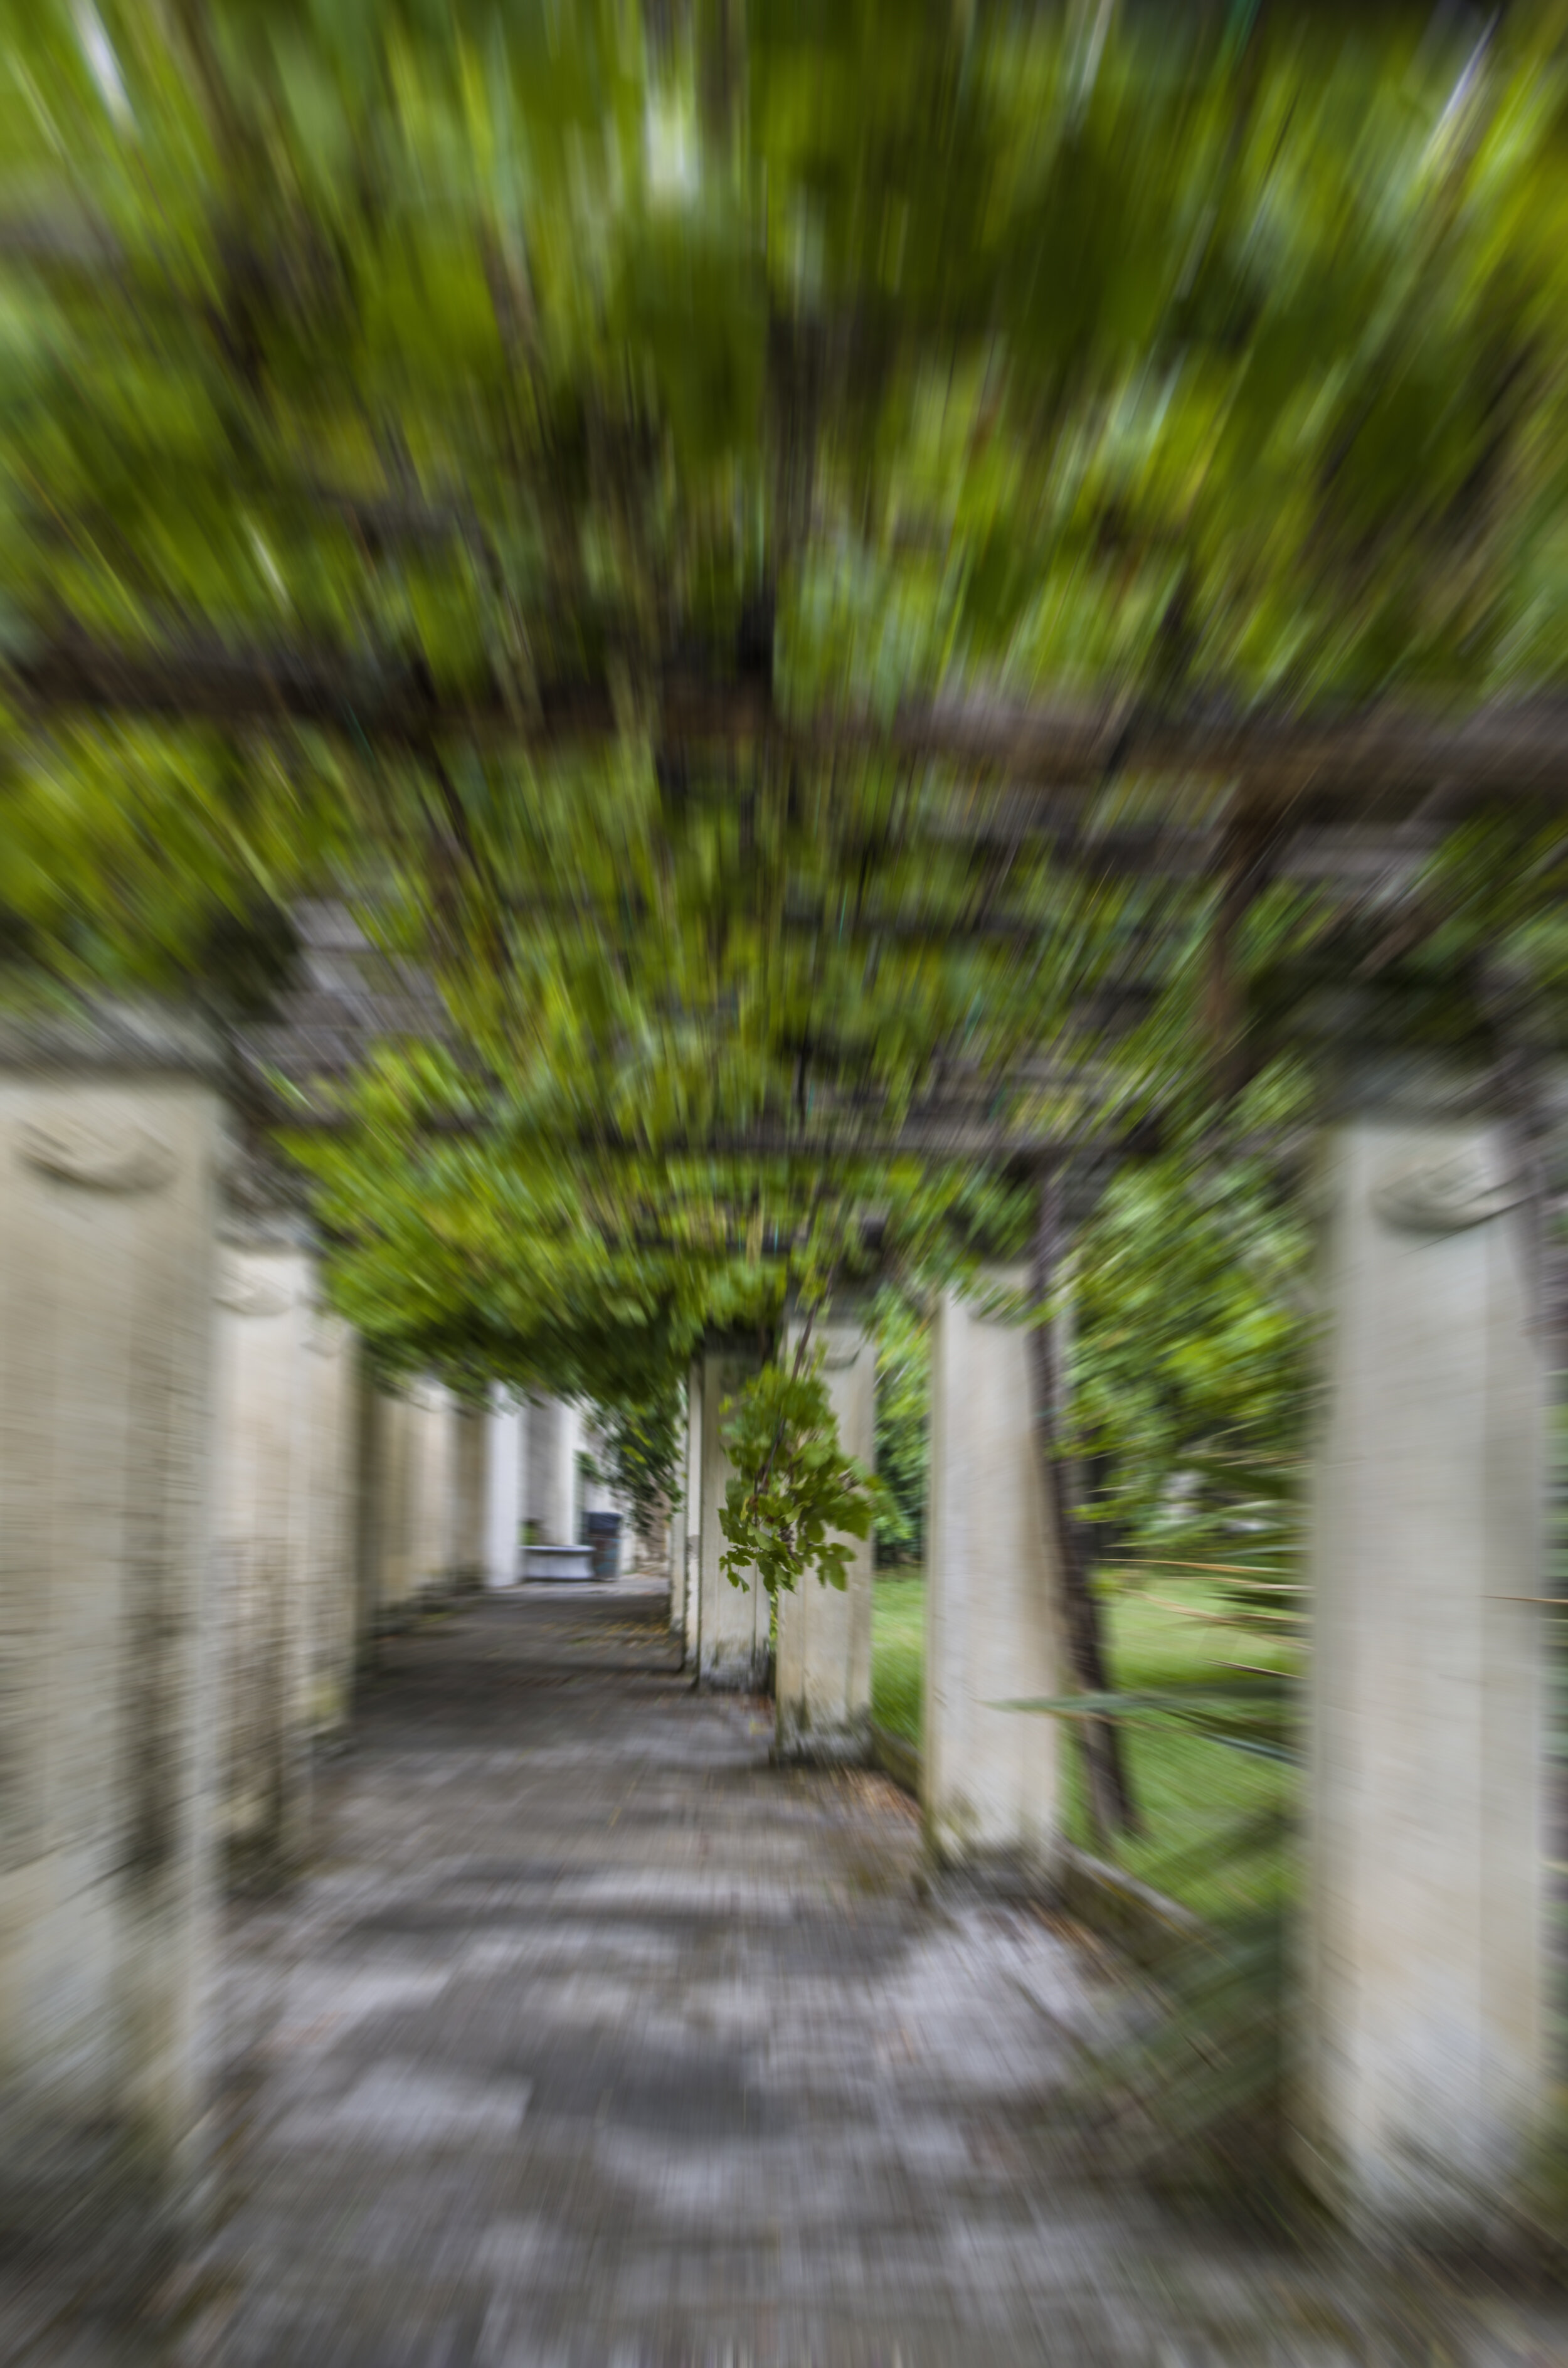
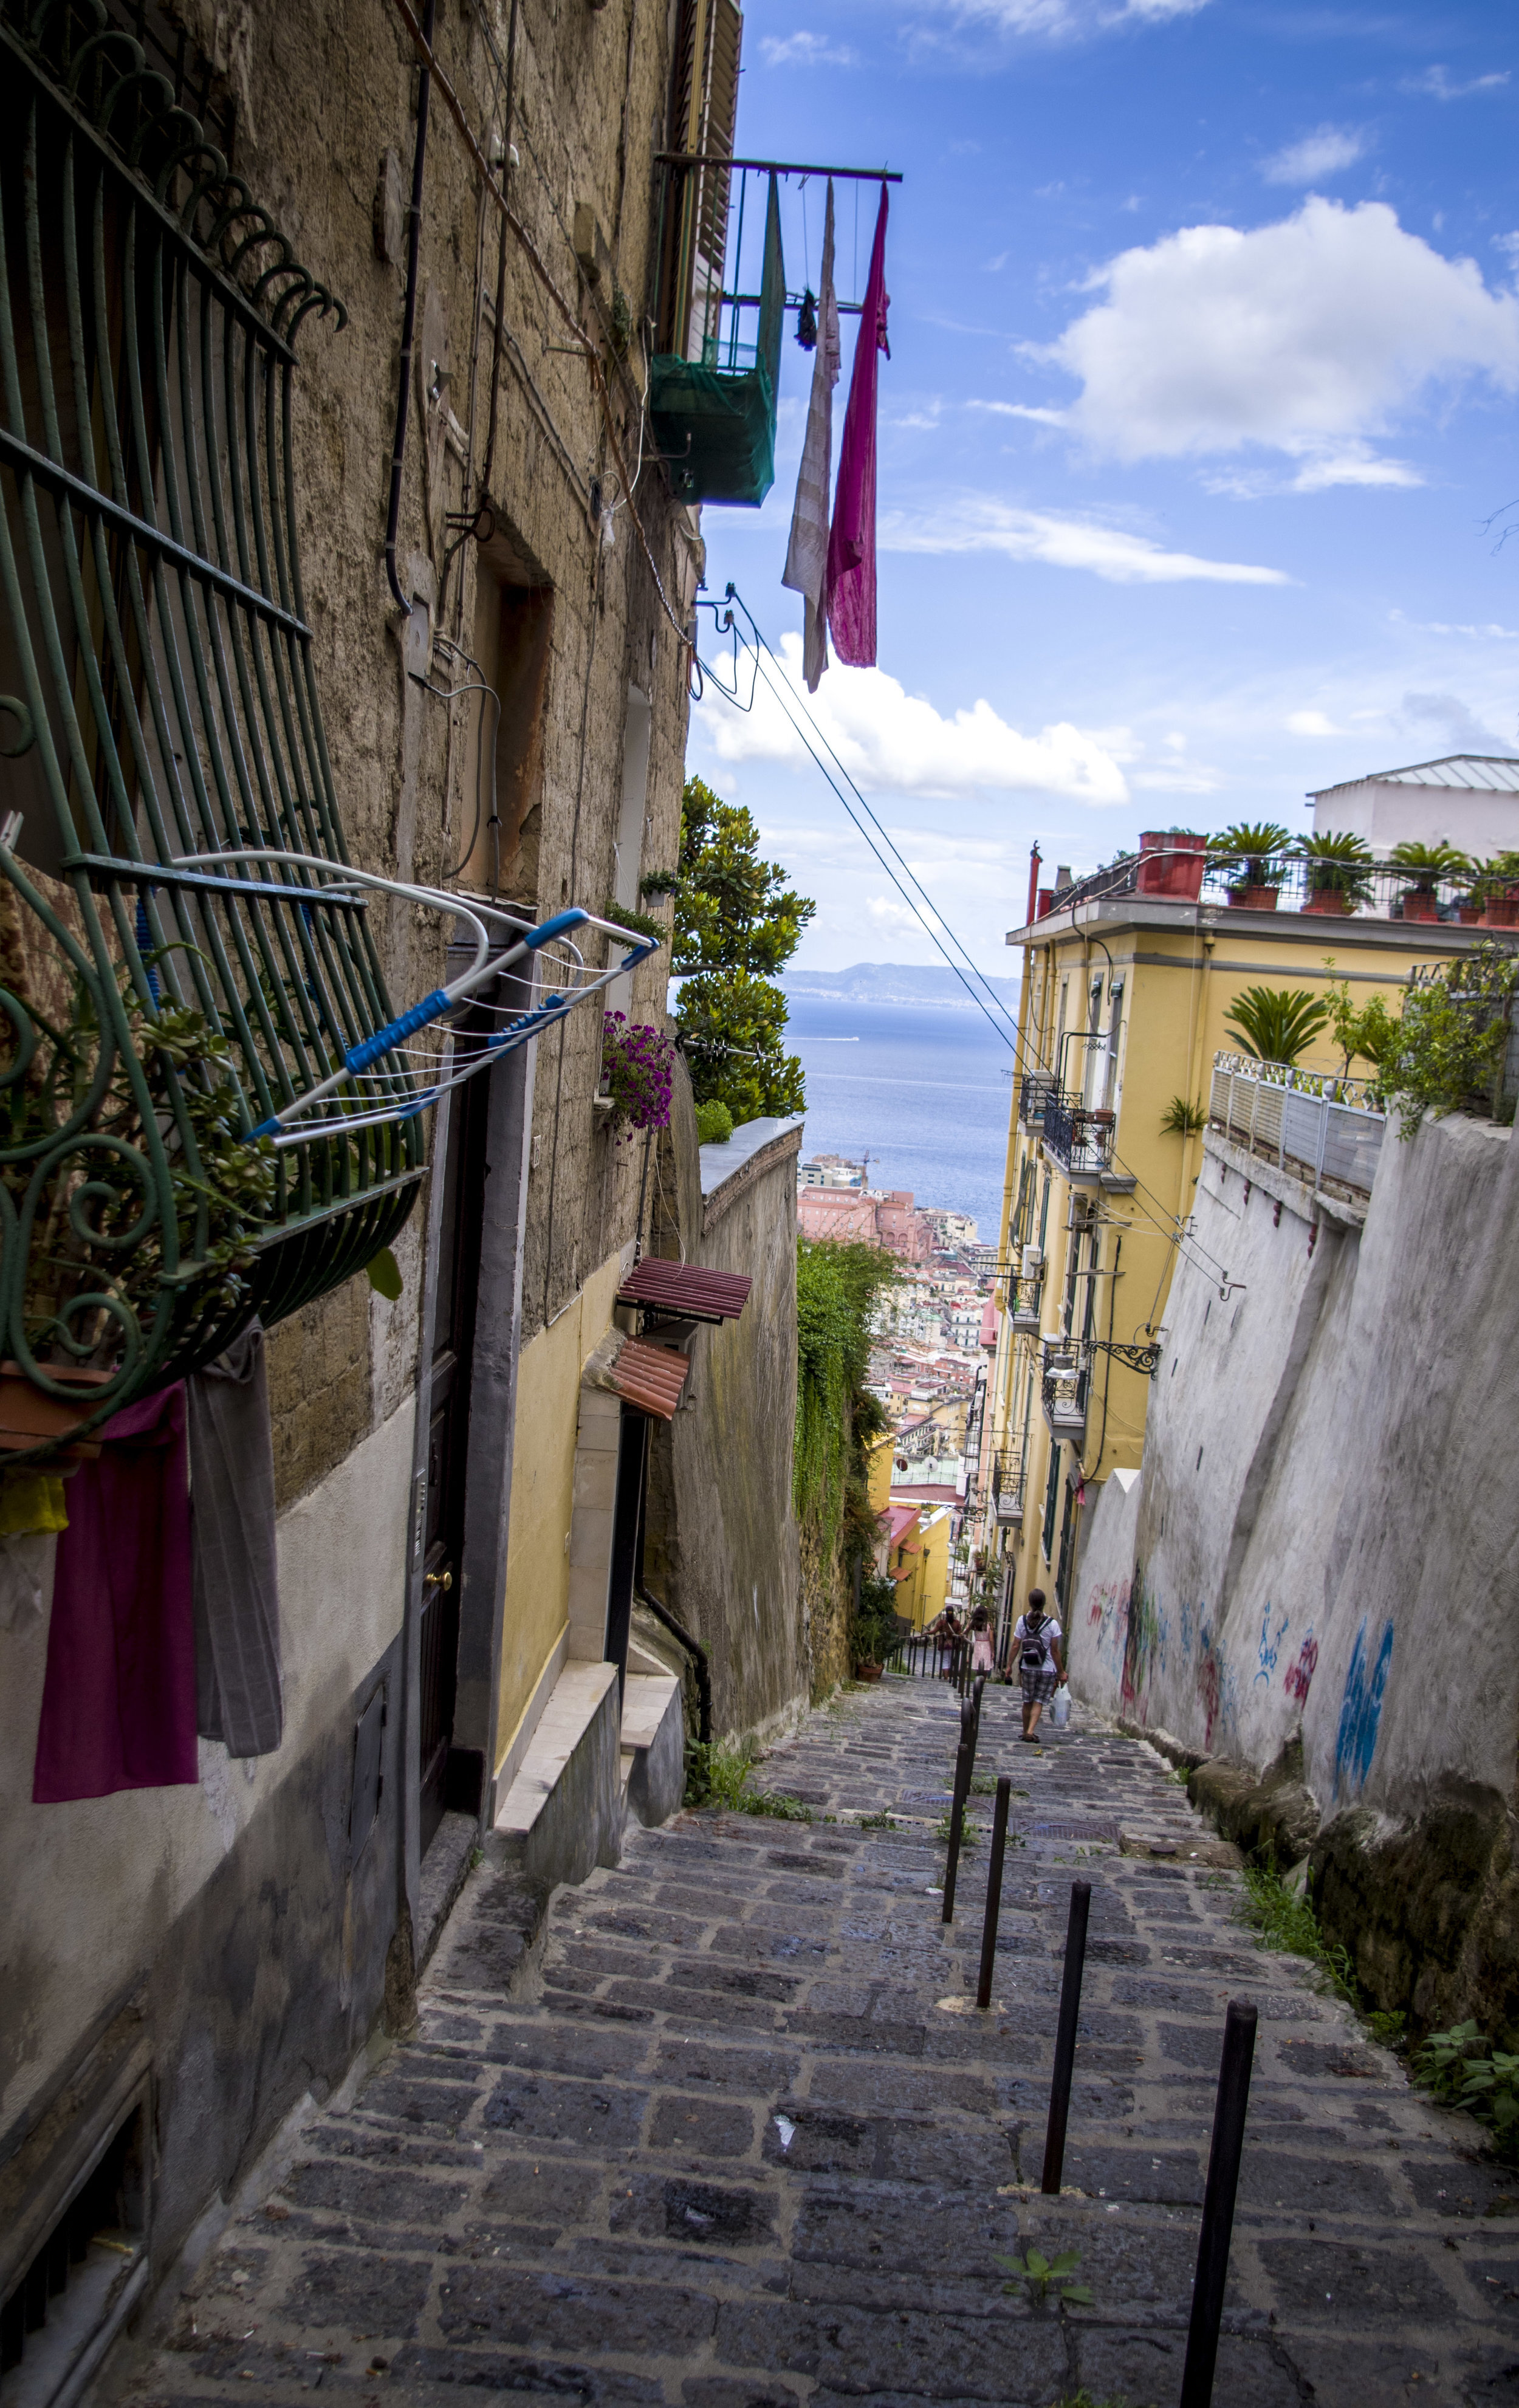
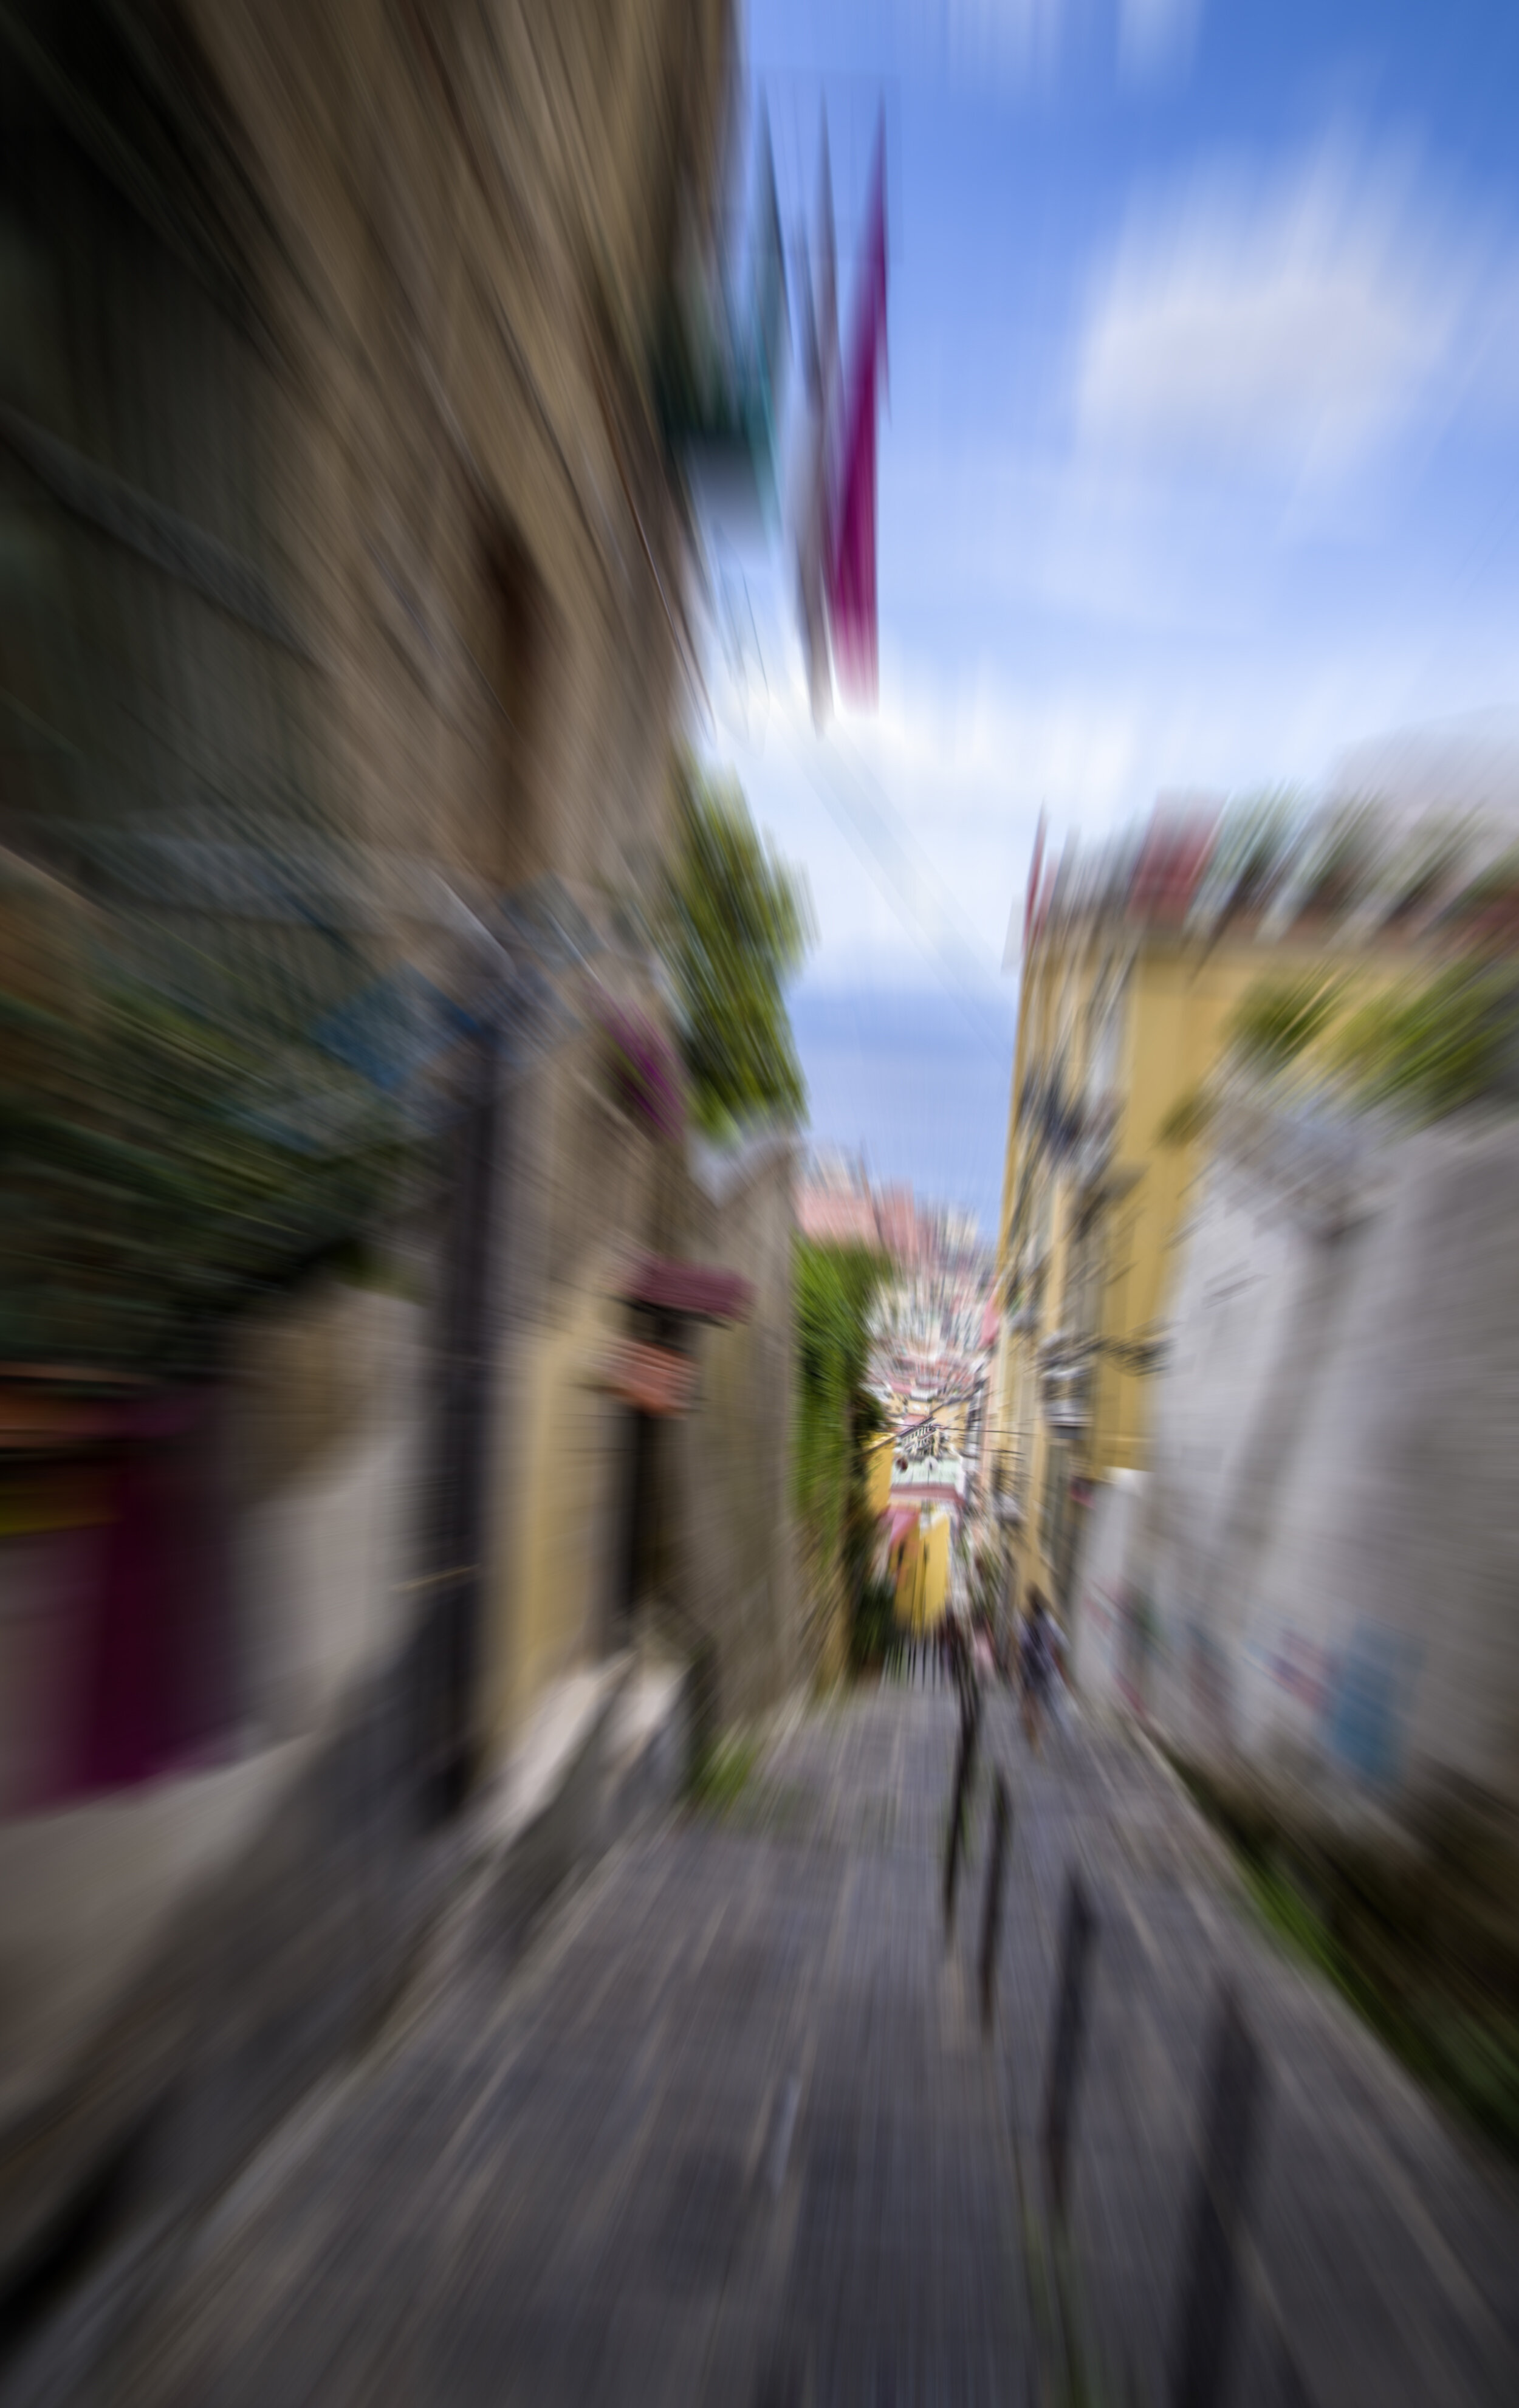
Here are some examples of the same view and the difference is the speed I took each photo to the turn of the lens.
3. Edit zoom burst blur motion into a picture with Photoshop
Adding the zoom burst effect to a photograph is simple and effective. This process can simply be edited with the use of the radial blur filter.
FOLLOW THESE STEPS TO COMPLETE THIS PROCESS:
Open up a file
Duplicate the layer
Select the duplicated layer
Click on the filer tab in Photoshop
Find the blur section and click on the radial blur option
To form the effect of the zoom burst you need to click on the zoom option.
For extra experimentation, you can move the point where the zoom effect starts on your picture
You can also play with the strength of the zoom effect
Take a look at some of my experiments with this process.
I do hope that this technique is something you may wish to use for your own camera processes. The next blog will be all about this technique - Long DayLight Exposure

If You Would Like To Have More Information And Learn More, Then Please Give Me Some Blog Suggestions In The Comments Below Or Arrange A 1:1 Photography Session With me.

Thank You For Reading My Blog
If You Enjoyed This Blog, Then Please Sign Up For My Regular Blog Newsletter.
Please leave any comments or subject suggestions that you would wish for me to cover on the subject of Photography.
Thank you for reading.